How to Censor a Photo Online: A Practical Guide for 2026
There's a right way and a wrong way to censor photos. You can slap a blurry box on a face with a basic editor, or you can use professional tools to properly blur, pixelate, or mask sensitive information like faces and license plates.
Modern, browser-based services like Blurit use AI to make this process fast and accurate, without downloading heavy desktop software. It's a critical workflow for protecting privacy and staying on the right side of content regulations.
Why You Need to Censor Photos Online
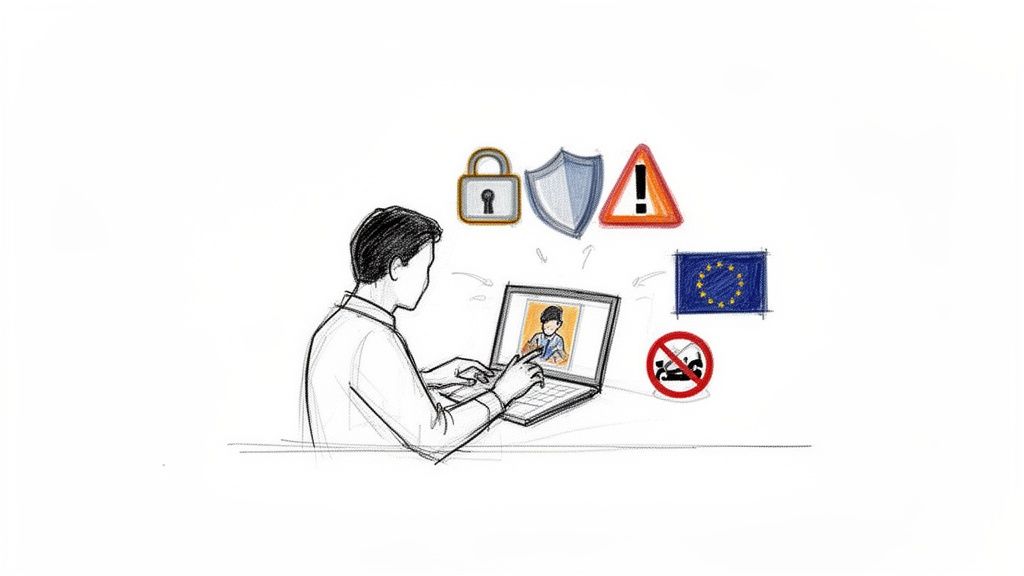
In a world of ever-tightening content rules and heightened privacy awareness, knowing how to properly anonymize images isn't just a "nice-to-have." It's essential. The reasons go far beyond courtesy; they're rooted in legal compliance, brand safety, and basic ethical responsibility.
For businesses, one uncensored crowd shot from an event could turn into a messy data privacy breach under laws like GDPR. For newsrooms, it's a constant ethical tightrope walk—balancing storytelling with the need to protect vulnerable sources or protestors. Anonymizing photos is now a core part of responsible work.
The Growing Need for Anonymization
The environment for sharing visual content online is only getting more restrictive. Over the past decade, government censorship of media has intensified dramatically, now affecting 5.3 billion people across 64 countries. The trend is clear: for every one person seeing less censorship, over ten are facing stricter controls.
You can dig into the data yourself in the full Global Expression Report on unesco.org. This reality creates urgent, real-world consequences. A documentary still showing protestors' faces could be flagged by platform algorithms or, worse, lead to legal trouble in restrictive markets.
For creators, journalists, and compliance officers, proactive anonymization is the new standard. The goal is to remove identifiable information before publishing to navigate these complex rules without compromising the story.
Scenarios Demanding Photo Censorship
Understanding why you need to censor a photo is the first step to doing it correctly. The need pops up in a surprising number of professional contexts, each carrying its own risks.
- Marketing and Advertising: That promotional photo featuring happy customers in the background? It requires their explicit consent. Without it, you're open to privacy complaints and potential fines. Blurring faces is the simplest way to ensure your marketing materials are both compliant and respectful.
- Journalism and Reporting: Protecting the identity of sources, activists, or victims is a fundamental ethical duty. Using a professional tool to pixelate or mask faces ensures their safety while maintaining your journalistic integrity.
- Public Sector and Security: When government agencies share CCTV footage with the public or other departments, they must redact the faces of uninvolved bystanders and other personal data. This isn't just good practice; it's a legal requirement under data protection laws.
A professional solution like Blurit is built from the ground up to address these modern challenges. It gives you the control to censor photos with the precision and confidence you need before they ever go public.
Choosing the Right Censorship Method: A Practical Guide
Alright, you've decided a photo needs censoring. Now comes the important part: choosing how you're going to do it. This isn't just about slapping a filter on something. The method you pick depends entirely on your goal. Are you a journalist protecting a source, where security is everything? Or are you a vlogger blurring a background, where the photo's look and feel still matterså Getting this choice right is crucial.
Comparing Blur, Pixelation, and Solid Masks
The three heavy hitters in photo censorship are blur, pixelation, and solid masks (think black boxes). Each one strikes a different balance between security, visual style, and the information you leave behind.
A blur is often the go-to for aesthetic reasons. It applies a soft, out-of-focus effect that can blend in nicely without screaming "CENSORED!" It's perfect for obscuring background details in a portrait or making text on a document unreadable while keeping the overall look of the page intact.
Pixelation is a step up in security. It breaks the sensitive area into big, chunky blocks, making details impossible to recognize. This is the classic look you see in news reports or security footage when faces or license plates are hidden. The bigger the pixel blocks, the tougher it is for anyone to guess what's underneath.
For maximum, non-negotiable security, you use a solid mask. This is simply an opaque, solid-colored box (usually black) that completely covers the sensitive information. It doesn't just obscure the original pixels—it replaces them. This is the only choice when absolute anonymity is critical, like redacting classified documents or completely hiding an identity.
To make the decision easier, think of it as a trade-off. This table breaks down where each method shines.
Comparing Photo Censorship Methods
This table compares the key characteristics of blur, pixelation, and solid masks to help you choose the best option for your project.
| Censorship Method | Best For | Visual Impact | Security Level |
|---|---|---|---|
| Blur | Maintaining aesthetics, obscuring backgrounds, hiding non-critical text | Low to Medium | Low to Medium |
| Pixelation | Anonymizing faces in news/security footage, obscuring license plates | Medium | Medium to High |
| Solid Mask | Redacting documents, total identity removal, highest-security applications | High | Maximum |
Ultimately, your choice comes down to balancing risk and purpose. While a solid mask provides ironclad security, it can be jarring. On the other hand, a soft blur looks clean but might be reversible or insufficient for truly sensitive data.
Key Takeaway: A solid mask offers the highest security, but it's visually disruptive. A blur looks better but is less secure. Always match the censorship method to the specific risk you're trying to mitigate.

How to Censor Photos with an AI Tool: A Step-by-Step Guide
Alright, let's get practical. We'll walk through the process of censoring a photo using a modern AI tool. The whole point is to make this fast, accurate, and accountable—and we'll use a browser-based service like Blurit to illustrate the flow. Forget painstakingly drawing boxes around every face: the AI does the heavy lifting, and you provide the final creative direction.
Step 1: Upload Your Image and Review the Workflow
Getting started is usually as simple as dragging a photo into your browser or selecting it from your device. Before you upload anything sensitive, pause and read the provider's privacy policy and data-processing terms: many AI workflows involve cloud processing, retention windows, and subprocessors that matter for GDPR and internal security policies.
Once your file is in the workflow, modern AI can analyze it for personally identifiable information (PII). This automatic detection is a game-changer. Within seconds, the tool can find and suggest censoring:
- Faces: It pinpoints every human face in the frame, from your main subject right down to strangers in the distant background.
- License Plates: Crucial for street photography or car shots, it accurately locates vehicle registration plates.
- Specific Objects: Some tools can even be trained to find and hide other sensitive things, like company logos or text on a computer screen.
Once the scan is done, you'll see the suggested redactions right on your image, waiting for your final say.
Step 2: Fine-Tune the Automatic Detections
Automation is a huge help, but your final judgment is what makes the output perfect. After the AI has done its initial pass, you can review and tweak every single redaction. This is how you censor a photo online to meet your exact needs.
- Adjust intensity: You might want to change the intensity of a blur. A light blur works for an artistic effect, but you'll need a much heavier one to truly anonymize a face.
- Change the method: You can switch between blur, pixelation, or a solid mask for each detected area.
- Delete unnecessary masks: If the AI has flagged an area that doesn't need censoring, you can simply remove the mask with one click.
Pro Tip: When pixelating a face for privacy, always go with a larger block size. Using small blocks might seem like enough, but it can sometimes leave key features recognizable. It's better to err on the side of stronger anonymization.
This diagram shows the three most common censorship methods you'll be choosing from.

Each of these—blur, pixelate, or a solid blackout—creates a different visual effect, so you can pick the one that fits the context of your image.
Step 3: Apply Manual Adjustments and Creative Effects
AI isn't perfect. Sometimes it might miss something, or you might want to obscure an area it didn't flag, like a house number, a unique tattoo, or a shipping label. That's what manual tools are for. You can just draw a box over any part of the image and apply the censorship effect you want.
A really handy feature, especially for creators and marketers, is inverted masks or “subject-only sharpness” workflows that keep your main subject in sharp focus while blurring everything else. It's a fantastic trick for professional-looking portraits that draw the viewer's eye while respecting the privacy of everyone in the background.
Step 4: Export Your Final Image
Once you're completely satisfied with how everything looks, export and download your final, censored image. In most workflows, your original local file stays unchanged until you choose to overwrite it—double-check how your tool handles versions and downloads so you don't accidentally publish the wrong file.
The need for these tools is only growing. In 2025, for instance, governments imposed a record 81 new internet restrictions. For anyone publishing content online, that translates to a higher risk of having images blocked by automated filters if they contain identifiable people. You can dig into more of this data in Statista's Internet Shutdown Tracker.
Navigating Privacy and Legal Compliance
Knowing how to properly censor a photo isn't just a technical skill anymore—it's a crucial part of staying on the right side of the law and modern ethics. In a world where one unredacted image can go viral in minutes, privacy regulations like GDPR have set a high bar for handling personally identifiable information (PII).
This is about more than just dodging fines. It's about respecting people. When you publish a photo with someone's face or license plate, you are actively processing their personal data. Getting anonymization right is your best, and frankly, your only real defense for doing so responsibly.
Vendor Choice, Data Transfers, and Documentation
How you censor a photo matters just as much as if you censor it. Many online tools require an upload so the provider (or its subprocessors) can run detection and effects. That single transfer can have compliance implications—you're sharing potentially sensitive data with a third party, so you need clarity on retention, deletion, locations, and legal bases.
Before you standardize on a tool, review:
- What is processed where (cloud region, on-prem options, enterprise deployments)
- Retention and deletion (how long files or derivatives are kept)
- DPAs and SCCs if you operate under GDPR or need cross-border safeguards
- Audit trails if your sector requires provable redaction workflows
Services like Blurit publish product and legal documentation—always confirm the latest terms match your risk profile before you upload highly sensitive material.
The Impact of Global Content Regulations
The rules around online content are getting more complicated, and they often cross borders whether we like it or not. Take the European Commission's push around the 2022 Digital Services Act (DSA). It's pressuring major platforms to enforce moderation and privacy expectations worldwide.
This means a marketing manager in Chicago posting event photos could suddenly have their content flagged by automated systems enforcing European privacy standards. You can find out more about the DSA's global impact on media-diversity.org.
This legal minefield makes proactive anonymization a non-negotiable. If you're a professional in journalism, marketing, or corporate security, using a tool that helps you meet these expectations is simply good workflow.
When you pick a provider, prioritize clear documentation (processing locations, retention, security), contract terms that fit your organization, and EU hosting or equivalent safeguards when your policies require them. That combination is how you reduce guesswork when images are scrutinized by platforms—or regulators.
One last critical point: make sure your redactions are irreversible in the file you publish. A proper export should overwrite sensitive pixels in the delivered asset so a face can't be recovered from that version. Always validate with your tooling and legal counsel for high-risk use cases.
Advanced Censorship for Professional Workflows
When you're censoring one photo, manual editing is fine. When you're facing a folder with hundreds or even thousands, that manual approach grinds to a halt. It's a massive bottleneck that professionals in journalism, marketing, and public safety simply can't afford.
This is where you graduate from one-off edits to a proper high-volume workflow. Think of a newsroom covering a protest with a thousand images, each packed with faces. Or a security firm processing non-stop CCTV stills, needing to redact every bystander to comply with privacy laws. These jobs demand serious tools—specifically, features like batch processing, API integration, and edge deployment.
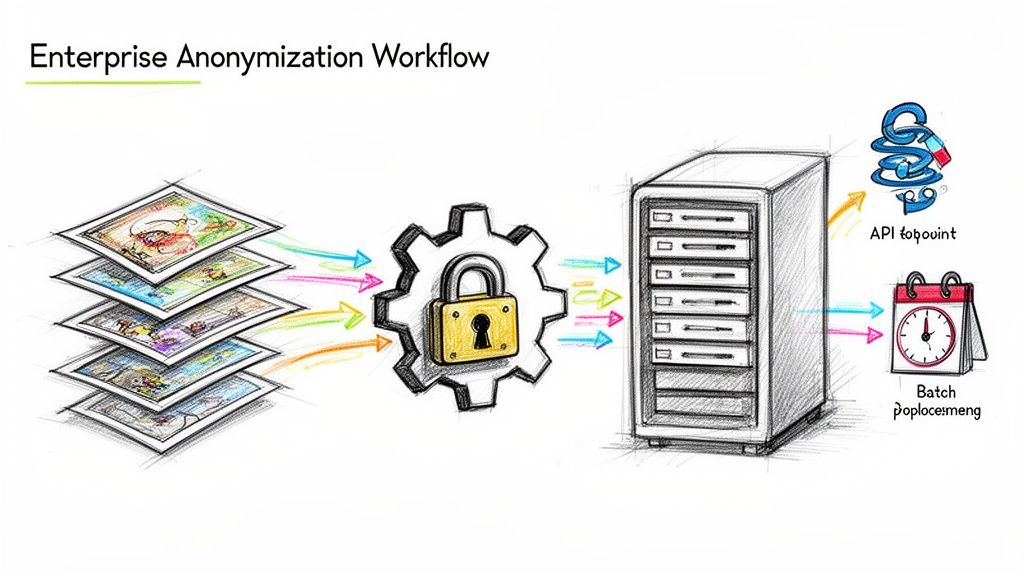
Scaling Up with Batch Processing
Imagine trying to manually censor photo online assets from a large event. It's a nightmare. Batch processing is the only sane solution. Instead of opening, editing, and saving each file one by one, you apply your anonymization rules to an entire folder of images or videos at once.
With a tool like Blurit, the process is straightforward: you bring your files into the workflow, the AI detects faces and license plates across the set, and you can review or approve redactions at scale. This consistency is just as important as the time saved—and for anyone managing large datasets, it's a complete game-changer.
Real-World Scenario: An event marketing team has 200 photos from a conference to publish. To meet GDPR requirements, they need to blur attendees who didn't sign a media release. Batch processing lets them anonymize all 200 images in minutes—a task that would have eaten up an entire day of manual work.
Integrating Censorship with a REST API
For developers and large organizations, the real power comes from baking anonymization directly into your existing software and content pipelines. A REST API is what makes this possible, allowing your applications to talk to a censorship service automatically, without constant manual steps.
This unlocks a whole new level of efficiency. You can build automated workflows to:
- Handle User-Generated Content: Automatically find and censor faces in photos your users upload before they ever go live.
- Modernize Media Archives: Run a script to anonymize decades of historical photos, preparing them for safe public access.
- Bolster Your CMS: Build a plugin for your Content Management System that automatically redacts images before they're published on your site.
When you build privacy into your operations this way, compliance stops being a manual chore and becomes an automatic, reliable part of your workflow.
For organizations with the most extreme security or performance needs, there's an even more advanced option: edge deployment. This is an enterprise-grade solution where the anonymization engine is deployed inside the company's own private cloud or network. Processing stays under your control, which can be a strong fit for government agencies, hospitals, and financial institutions—provided architecture and contracts match your requirements.
Photo Censoring FAQs: Your Top Questions Answered
Whenever I talk to teams about photo and video redaction, the same few questions always pop up. It's totally normal—the details around anonymization can be tricky. Getting it right means understanding the technology's limits and its legal implications.
Let's clear up the confusion and tackle the most common questions head-on.
Can a Blurred or Pixelated Face Be Reversed?
Let's get this one out of the way first: can a properly blurred or pixelated face be reversed? For a correctly exported professional redaction, the practical answer is no—the sensitive pixels in the delivered file should be destroyed, not merely hidden behind a reversible overlay.
When a dedicated redaction workflow applies strong blur or coarse pixelation to the exported bitmap, the original detail in that region is replaced. There is no magic "undo" that recovers perfect identity from a proper export—unlike a weak Instagram-style filter layered on top of an untouched original.
Cheap "smudge" effects from basic mobile apps can be a different story: they sometimes leave enough information for advanced models to guess at likeness. That's why serious newsrooms and legal teams insist on tools built for redaction—not casual filters.
This mindset aligns with strict privacy laws like GDPR, which expect anonymization to be robust in the materials you actually publish or share.
What Is the Best Way to Censor a Moving Object?
Censoring a moving target—a person walking through a shot, a car driving by—is where most manual efforts fail. Trying to adjust a blur mask frame by frame is painfully slow, and you will almost certainly miss a frame, accidentally exposing the very thing you're trying to hide.
The reliable method is to use a tool with AI-powered motion tracking. Here's how it works:
- You identify the target once. Draw a box around the person or object in the first frame where they appear.
- The AI takes over. The software then follows that object's movement, shape, and size throughout the entire video clip.
- The mask stays locked on. This keeps your blur or pixelation aligned for seamless anonymization from start to finish.
Using AI tracking is the difference between spending all afternoon on a 10-second clip and getting it done in less than a minute.
Is It Legal to Publish a Photo if I Blur the Faceså
In many jurisdictions, blurring faces and other PII is your strongest first step toward legally publishing a photo—especially for commercial uses where you lack consent from everyone in the shot. It's a core idea in data anonymization under regulations like GDPR.
But the law is nuanced and varies by region, country, and context. Journalism often has public-interest exceptions with more flexibility. In high-stakes corporate or legal settings, blurring a face might not be enough if other identifiers (tattoos, uniforms, badges) remain visible.
Thorough redaction is your best line of defense, but it isn't a universal "get out of jail free" card. For any project with significant legal or financial risk, consult a legal professional who knows your local privacy laws.
Ready to start censoring your photos and videos with professional speed and control? Try Blurit today—AI-assisted workflows designed for privacy-sensitive publishing. Get started for free on blurit.app.