How to Blur Parts of Photo Fast with AI (2026)

You're often only a few minutes away from publishing when the problem appears. The photo is strong, the story is ready, the social post is queued, and then someone notices a face in the background, a child near the edge of frame, a vehicle plate, a name badge, or a laptop screen with visible data.
That's the moment when blur parts of photo stops being a design task and becomes a risk decision.
In busy teams, the old workflow is familiar. Open Photoshop. Duplicate the layer. Make a rough selection. Apply Gaussian Blur. Zoom in. Notice you missed a reflection in a window. Redo the mask. Export. Send it for approval. Hope nobody asks whether the redaction is safe enough. It works, but it's slow, and speed matters when you publish under deadline.
Why Blurring Photos Has Become a Critical Skill
A photo can be accurate, useful, and still unsafe to publish.
That happens every day in newsrooms, marketing teams, security operations, and public-sector communications. The visible risk is often a background face, a vehicle plate, a name badge, a child at the edge of frame, or a screen showing personal or internal data. Small detail. Real exposure.
Blurring matters because publication now travels faster than review. One unredacted image can be copied, reposted, indexed, and archived before anyone catches the mistake. Once that happens, cleanup is harder than prevention, and in many cases the privacy harm cannot be fully reversed.
The risk is legal, editorial, and operational
Journalists use selective blurring to protect sources, minors, and bystanders. Marketing teams use it to remove customer details from event coverage and case-study visuals. Security and compliance teams use it to share evidence without exposing identities or information beyond the people who need access.
Each use case has a different standard of care, but the underlying job is the same. Remove identifying detail without damaging the image so much that it loses value.
A visible license plate can connect a person to a place. A face in a protest image can create retaliation risk. A monitor in the background can expose account data, internal tools, or confidential documents.
Deadline pressure does not reduce privacy risk. It usually increases the chance of a weak edit.
Older editing habits are too slow for privacy-first work
Desktop editors still matter. They give skilled users precise control, especially for difficult edges, reflections, and layered composites.
The problem is workflow. Manual blur methods were built for image editing, not for fast anonymization at publication scale. They depend on hand-drawn selections, local file handling, repeated exports, and careful visual checking by someone who knows what to look for. That is workable for a single hero image. It breaks down when a team needs to clear multiple photos quickly and document that the redaction was handled responsibly.
That is why browser-based AI tools such as Blurit are gaining ground in professional use. They shorten the first pass, reduce repetitive masking work, and keep the editor focused on judgment calls: what must be hidden, how strong the anonymization should be, and whether the result is safe enough for the intended audience.
The standard has changed
Blurring is no longer just a stylistic touch or a quick fix before posting. It is part of privacy control.
For professional teams, the question is not whether an image has blur applied. The core question is whether the workflow reliably catches sensitive details, applies an effect that cannot be casually reversed, and limits unnecessary handling of personal data. That matters for editorial trust, internal policy, and GDPR-conscious publishing.
The practical goal is simple. Anonymize fast, review carefully, and publish without creating a second privacy problem in the process.
A Practical Guide to Selective Blurring with Blurit
A reporter is about to publish a street photo from a sensitive location. The main subject is cleared for use, but a child appears in the background, a license plate is visible at the curb, and a reflected face shows up in a shop window. That is a common production problem. The job is to anonymize the image fast without missing the details that create legal or ethical risk.
Blurit fits that job because it handles the first pass in the browser, then lets the editor refine the result before export. That approach is faster than drawing every mask by hand, and it reduces unnecessary file handling, which matters when the image contains personal data.
Start with the original frame
Upload the full image first.
Cropping before review creates blind spots. Editors often catch the obvious face or plate, then miss a badge on the edge of frame, a name on paperwork, or a reflection in glass. Reviewing the whole frame first gives the detection system and the human reviewer the same complete scene.
If Blurit identifies faces, plates, or other common targets automatically, run that step before making manual edits. It is the quickest way to mark likely risks and see where the model may need help.
Use auto-detection to save time, then verify it like a reviewer
Automatic detection is useful because it removes repetitive work. It does not decide what is safe to publish.
Check the image for details that frequently slip through:
- Background faces: Side profiles and partially obscured people in crowds
- Reflections: Windows, mirrors, polished vehicles, and display cases
- Readable text: Name badges, addresses, forms, screens, and labels
- Indirect identifiers: Tattoos, uniforms, logos, house numbers, or distinctive items tied to one person
This review step is where privacy protection succeeds or fails. AI can mark obvious targets. A human still has to judge whether the remaining context identifies someone.
Fix the selection before changing the effect
Editors waste time when they increase blur strength on a weak mask. The hidden area still leaks detail at the edges, and the image quality drops more than necessary.
Refine each region first. Zoom in and check hairlines, jaw edges, ears, fingers, and the borders of plates or documents. Add a small safety margin around the feature so compression or resizing does not expose recognizable structure later.
A practical review order works well:
- Zoom in for edge coverage: Make sure the mask fully clears the feature
- Zoom out for recognizability: Confirm the subject is not still identifiable in the scene
- Remove false positives: Clean masks preserve image value
- Add manual regions last: Handle unusual items such as IDs, paperwork, screens, and signage after the automatic pass
Small adjustments matter here. A careful mask often protects privacy better than a stronger effect applied carelessly.
Keep the image useful
Selective blurring works well for publication because it hides the sensitive parts while preserving context. That trade-off matters in professional use.
A newsroom may need the scene, location, and action to remain readable while bystanders are anonymized. A marketing team may need crowd energy without exposing attendee identities. A security team may need the layout of an incident image while obscuring faces, badges, and plates. Blurit supports that kind of targeted edit without forcing a full-frame treatment.
If you are isolating one approved subject and obscuring the rest, review the result carefully. A sharp foreground subject against lightly treated background faces can still create risk if the surrounding people remain recognizable.
Preview the image the way it will actually appear
Editing view is not the final test.
Check the image at publication size, or as close to it as possible. Web compression, CMS resizing, and mobile display can all change how strong the anonymization looks. A blur that seems heavy at high zoom can look weak once the file is exported and displayed in context.
If the image is going to social, review the social crop. If it is going into a report, presentation, or case file, inspect that export size before approval.
A short visual walkthrough helps if you're new to this kind of workflow:
Export the approved version and control the original
Once the anonymized image is approved, export the final file for use and store it separately from the source image. That separation is basic risk control. Teams create preventable incidents when redacted and unredacted versions sit together with unclear naming or broad access.
A workable process looks like this:
| Stage | What to do | Why it matters |
|---|---|---|
| Upload | Use the original image | Catches sensitive details outside an early crop |
| Detect | Run AI identification first | Speeds up review of obvious risk areas |
| Refine | Adjust masks and add manual regions | Fixes misses and removes false positives |
| Apply effect | Match the treatment to the risk level | Protects identity without damaging the whole image |
| Export | Save only the approved anonymized version for distribution | Reduces accidental reuse of the wrong file |
What holds up under deadline
The fastest safe workflow is a browser-based AI pass followed by human review. That gives teams speed without treating anonymization as an automatic checkbox.
In practice, the standard is simple. Detect first. Verify every risky detail. Export only after the image still works editorially and no longer exposes the people or data inside it. For developers and power users, the same logic applies at scale through API-based processing, but the review standard stays the same.
Choosing the Right Anonymization Effect
The effect determines whether an image is merely edited or actually safe to publish.
That distinction matters under deadline. A soft blur may satisfy an art director who wants the frame to stay clean. It may fail a newsroom editor, legal reviewer, or security team if the person, plate, or document is still recognizable in context. In a privacy-first workflow, the right question is not which effect looks best. It is which effect reduces identification risk enough for the use case.
Gaussian blur works for de-emphasis, not high-risk identity protection
Gaussian blur looks natural because it preserves the visual flow of the image. That makes it useful for low-risk background details or for reducing distraction in a polished layout.
Its weakness is predictable. Blur softens detail, but it often leaves enough shape, contrast, and outline for a face, logo, or object to remain recognizable. For publication involving private individuals, protected locations, or sensitive screens, treat Gaussian blur as the weakest anonymization option in the set unless it is applied very aggressively. At that point, it often looks worse than pixelation anyway.
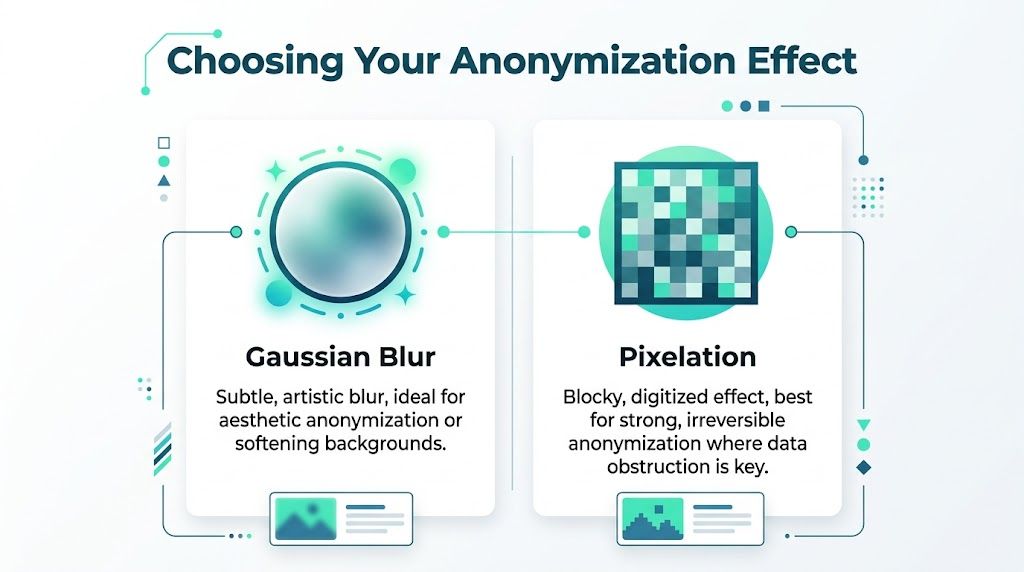
Pixelation is usually the better choice for faces, plates, and screens
Pixelation is less elegant, but it is clearer as a redaction method. It breaks the image into blocks instead of smoothing it, which reduces fine detail and makes casual recognition harder.
That trade-off is often worth taking. In journalism, public safety, field documentation, and compliance work, visible redaction is a feature, not a flaw. It signals that the concealment is intentional. It also avoids the common failure case where a lightly blurred face still reads as identifiable to colleagues, neighbors, or anyone already familiar with the subject.
For many professional workflows, pixelation is the default starting point.
Blackout masking is the right call when recovery cannot be tolerated
Some details should not remain partially visible under any condition. Account numbers, signatures, badges, addresses, medical data, and document text fall into that category.
A solid mask is blunt, but that is why it works. It removes visual information instead of degrading it. If the content carries legal, personal, or operational risk, a blackout mask is usually safer than any blur-based treatment.
If the hidden area contains readable text or a unique identifier, cover it completely.
Choose by risk, not by taste
A practical rule set keeps teams from improvising the same decision every time:
- Use Gaussian blur for low-risk de-emphasis where visual continuity matters more than strong anonymization.
- Use pixelation for faces, license plates, screens, and other details that need clear but still readable-in-layout redaction.
- Use blackout masking for text, IDs, signatures, or any element that should not be recoverable or inferred.
Blurit supports all three approaches in a browser-based workflow, which is useful for teams that need fast review without pushing every image through a heavier desktop editing process. The time savings matter, but the main benefit is consistency. Editors can apply the same decision logic across marketing, journalism, and security use cases without falling back on whatever effect happens to look nicest.
The target area is as important as the effect
Weak anonymization often starts with a selection problem, not an effect problem.
A face may be covered while a uniform, tattoo, storefront, or house number stays visible. A plate may be pixelated while the vehicle branding and location still identify the owner. Good redaction accounts for the surrounding clues that let someone piece the identity back together.
That is why AI detection should be treated as a first pass, not final judgment. It helps find obvious subjects quickly. A human reviewer still needs to decide whether the crop, mask size, and surrounding context leave too much exposed.
| Effect | Best use | Main weakness |
|---|---|---|
| Gaussian blur | Low-risk softening, aesthetic de-emphasis | Leaves structure and context visible |
| Pixelation | Faces, plates, screens | More visually intrusive |
| Blackout mask | Text, IDs, high-risk details | Removes more of the original image |
Creative blur and privacy blur are not the same job
Designers use blur to guide attention. Privacy teams use anonymization to reduce the chance of identification.
Those goals overlap only occasionally. If the subject can still be recognized by face shape, clothing, location, or nearby objects, the image is still exposing someone. For publication, the standard is simple. The treatment has to hold up against recognition, not just look edited on screen.
Privacy Best Practices and GDPR Compliance
A newsroom editor sends a protest photo for publication. A marketing team prepares customer event shots. A security manager exports CCTV stills for an incident report. In each case, the blur is only one part of the risk. The primary exposure starts earlier, with how the original file is handled, reviewed, stored, and deleted.
Teams get into trouble when they treat anonymization as a visual task instead of a data-handling task.
The original file creates the highest risk
The unredacted image usually carries liability. Once that file is uploaded to a service with unclear retention or broad internal access, the organization has created a second privacy problem before publication even starts.
For professional use, the safer approach is simple. Limit where the original goes, limit who can open it, and limit how long it exists in any shared system. That matters for obvious identifiers like faces and license plates, but also for addresses, badges, screens, uniforms, and location clues that can identify someone indirectly.
Browser-side processing supports data minimization
GDPR pushes teams toward data minimization. In practice, that means collecting, moving, and storing as little personal data as the job requires.
A browser-based workflow helps because analysis can happen on the user side instead of sending every original image through a routine server pipeline. That is one reason tools like Blurit fit professional privacy work better than generic editors built mainly for design. Fewer transfers usually mean fewer copies, fewer retention questions, and fewer places where an unredacted file can remain after the task is done.
That does not solve compliance on its own.
Internal permissions, review logs, retention rules, and export controls still need to be defined by the team using the tool.
Deletion policy matters as much as the blur effect
Retention is where many otherwise careful workflows fail. A photo may be anonymized correctly, then left in shared cloud storage, team chat, or a third-party processing queue long after the immediate need has passed.
Ephemeral handling reduces that risk. If a service can process a file and remove it immediately after the job, the compliance position is usually easier to defend. This matters in journalism, legal review, public sector communications, HR investigations, and security operations, where the original image often contains personal data that should not sit around for convenience.
Use this review checklist before adopting any photo anonymization tool:
- Processing location: Confirm whether analysis happens locally, on a remote server, or in a mixed workflow.
- Storage behavior: Check whether originals, previews, and exports are retained differently.
- Access control: Restrict who can upload, review, download, and approve files.
- Deletion method: Confirm whether deletion is immediate, scheduled, or dependent on manual cleanup.
- Auditability: Make sure the team can explain what happened to the original file if a client, regulator, or legal team asks.
Irreversible redaction is the safer publication standard
For compliance work, the question is not whether the edit looks clean. The question is whether the person or sensitive detail can still be identified.
Soft blur often leaves enough structure to recognize a face, read partial text, or infer identity from nearby context. Heavier pixelation, solid masking, or full blackout usually holds up better in high-risk use cases. The trade-off is obvious. Stronger redaction is less attractive visually, but it lowers the chance that an image can be reverse-interpreted or casually recognized by readers, viewers, or automated tools.
That trade-off should be decided by policy, not by individual editor preference.
If one producer uses a light Gaussian blur and another uses a hard mask for the same type of subject, the organization has no consistent privacy standard. That inconsistency creates review problems and legal risk.
Build release checks into the publishing workflow
A final visual pass is not enough. Teams should review anonymized images the same way they review captions, rights, and legal approvals.
A simple release standard works well:
| Check | Why it matters |
|---|---|
| Is every identifiable element covered? | Background details often expose identity even after the main subject is blurred |
| Is the redaction strength appropriate for the risk level? | Cosmetic blur can fail under scrutiny |
| Is access to the original file restricted or removed? | Internal exposure still counts as exposure |
| Can the team document the handling processå | Compliance depends on process and proof, not good intentions |
Compliance depends on workflow discipline
No tool makes a careless process safe. A privacy-first browser workflow can reduce exposure, speed up review, and help teams stay aligned with GDPR principles, but the operational discipline still has to come from the people publishing the image.
For journalism, marketing, and security teams, the practical rule is straightforward. Treat photo anonymization as a controlled release step with clear handling rules around the original file. For developers building this into products or internal systems, the same rule applies at the API level. Minimize transfer, avoid unnecessary retention, and make deletion predictable.
Common Alternatives and Manual Blurring Workarounds
There are still plenty of ways to blur parts of photo without a dedicated anonymization workflow. Some are useful. Some are only acceptable when the content isn't sensitive.
Photoshop is precise, but slow for routine privacy work
Photoshop remains the manual benchmark.
You can make exact selections with the lasso, pen, or mask tools. You can feather edges carefully. You can stack adjustments and export in whatever format the production team needs. If you already know the software well, it's capable.
The problem is efficiency. Manual privacy redaction in Photoshop is repetitive work, and repetitive work is where people miss things. A missed face at the edge of frame usually isn't caused by a lack of power. It's caused by fatigue, haste, or a weak review routine.
Photoshop also doesn't solve privacy handling on its own. It edits the image. It doesn't define how the original is processed, retained, or restricted.
Office and basic editors can work in a pinch
People sometimes use Word, PowerPoint, or lightweight online editors as improvised solutions. For a low-risk internal document, that may be enough.
The weakness is control. These tools usually weren't designed for selective privacy treatment of publication images. Partial blurring can be awkward, masking can be crude, and there's rarely a clean workflow for reviewing multiple sensitive elements in one frame.
That's fine for a quick mockup. It's not a process to rely on for journalism, security, or regulated content.
Free online editors raise a different question
The issue isn't only whether they can blur. It's whether you should trust them with the original file.
When a browser editor doesn't clearly explain processing, retention, deletion, or storage behavior, you're making a blind trade. You get convenience, but you may be uploading sensitive images into a system you can't evaluate properly.
That doesn't mean every simple editor is unsafe. It means teams should treat file handling as part of the tool decision, not an afterthought.
Convenience matters. So does knowing where the unblurred image goes.
How the trade-offs look in practice
| Option | Strength | Main trade-off |
|---|---|---|
| Photoshop | High manual precision | Slow for repeated anonymization tasks |
| Office-style workarounds | Familiar and available | Limited control for serious redaction |
| Generic online editors | Fast to access | Often unclear privacy handling |
| Dedicated AI anonymization tools | Fast detection plus review controls | Still require human verification |
The right choice depends on what you're protecting.
If the image is decorative and low-risk, manual tools are often enough. If the image contains identifiable people, regulated data, or evidence material, the workflow matters as much as the effect. That's where general-purpose editing starts to show its limits.
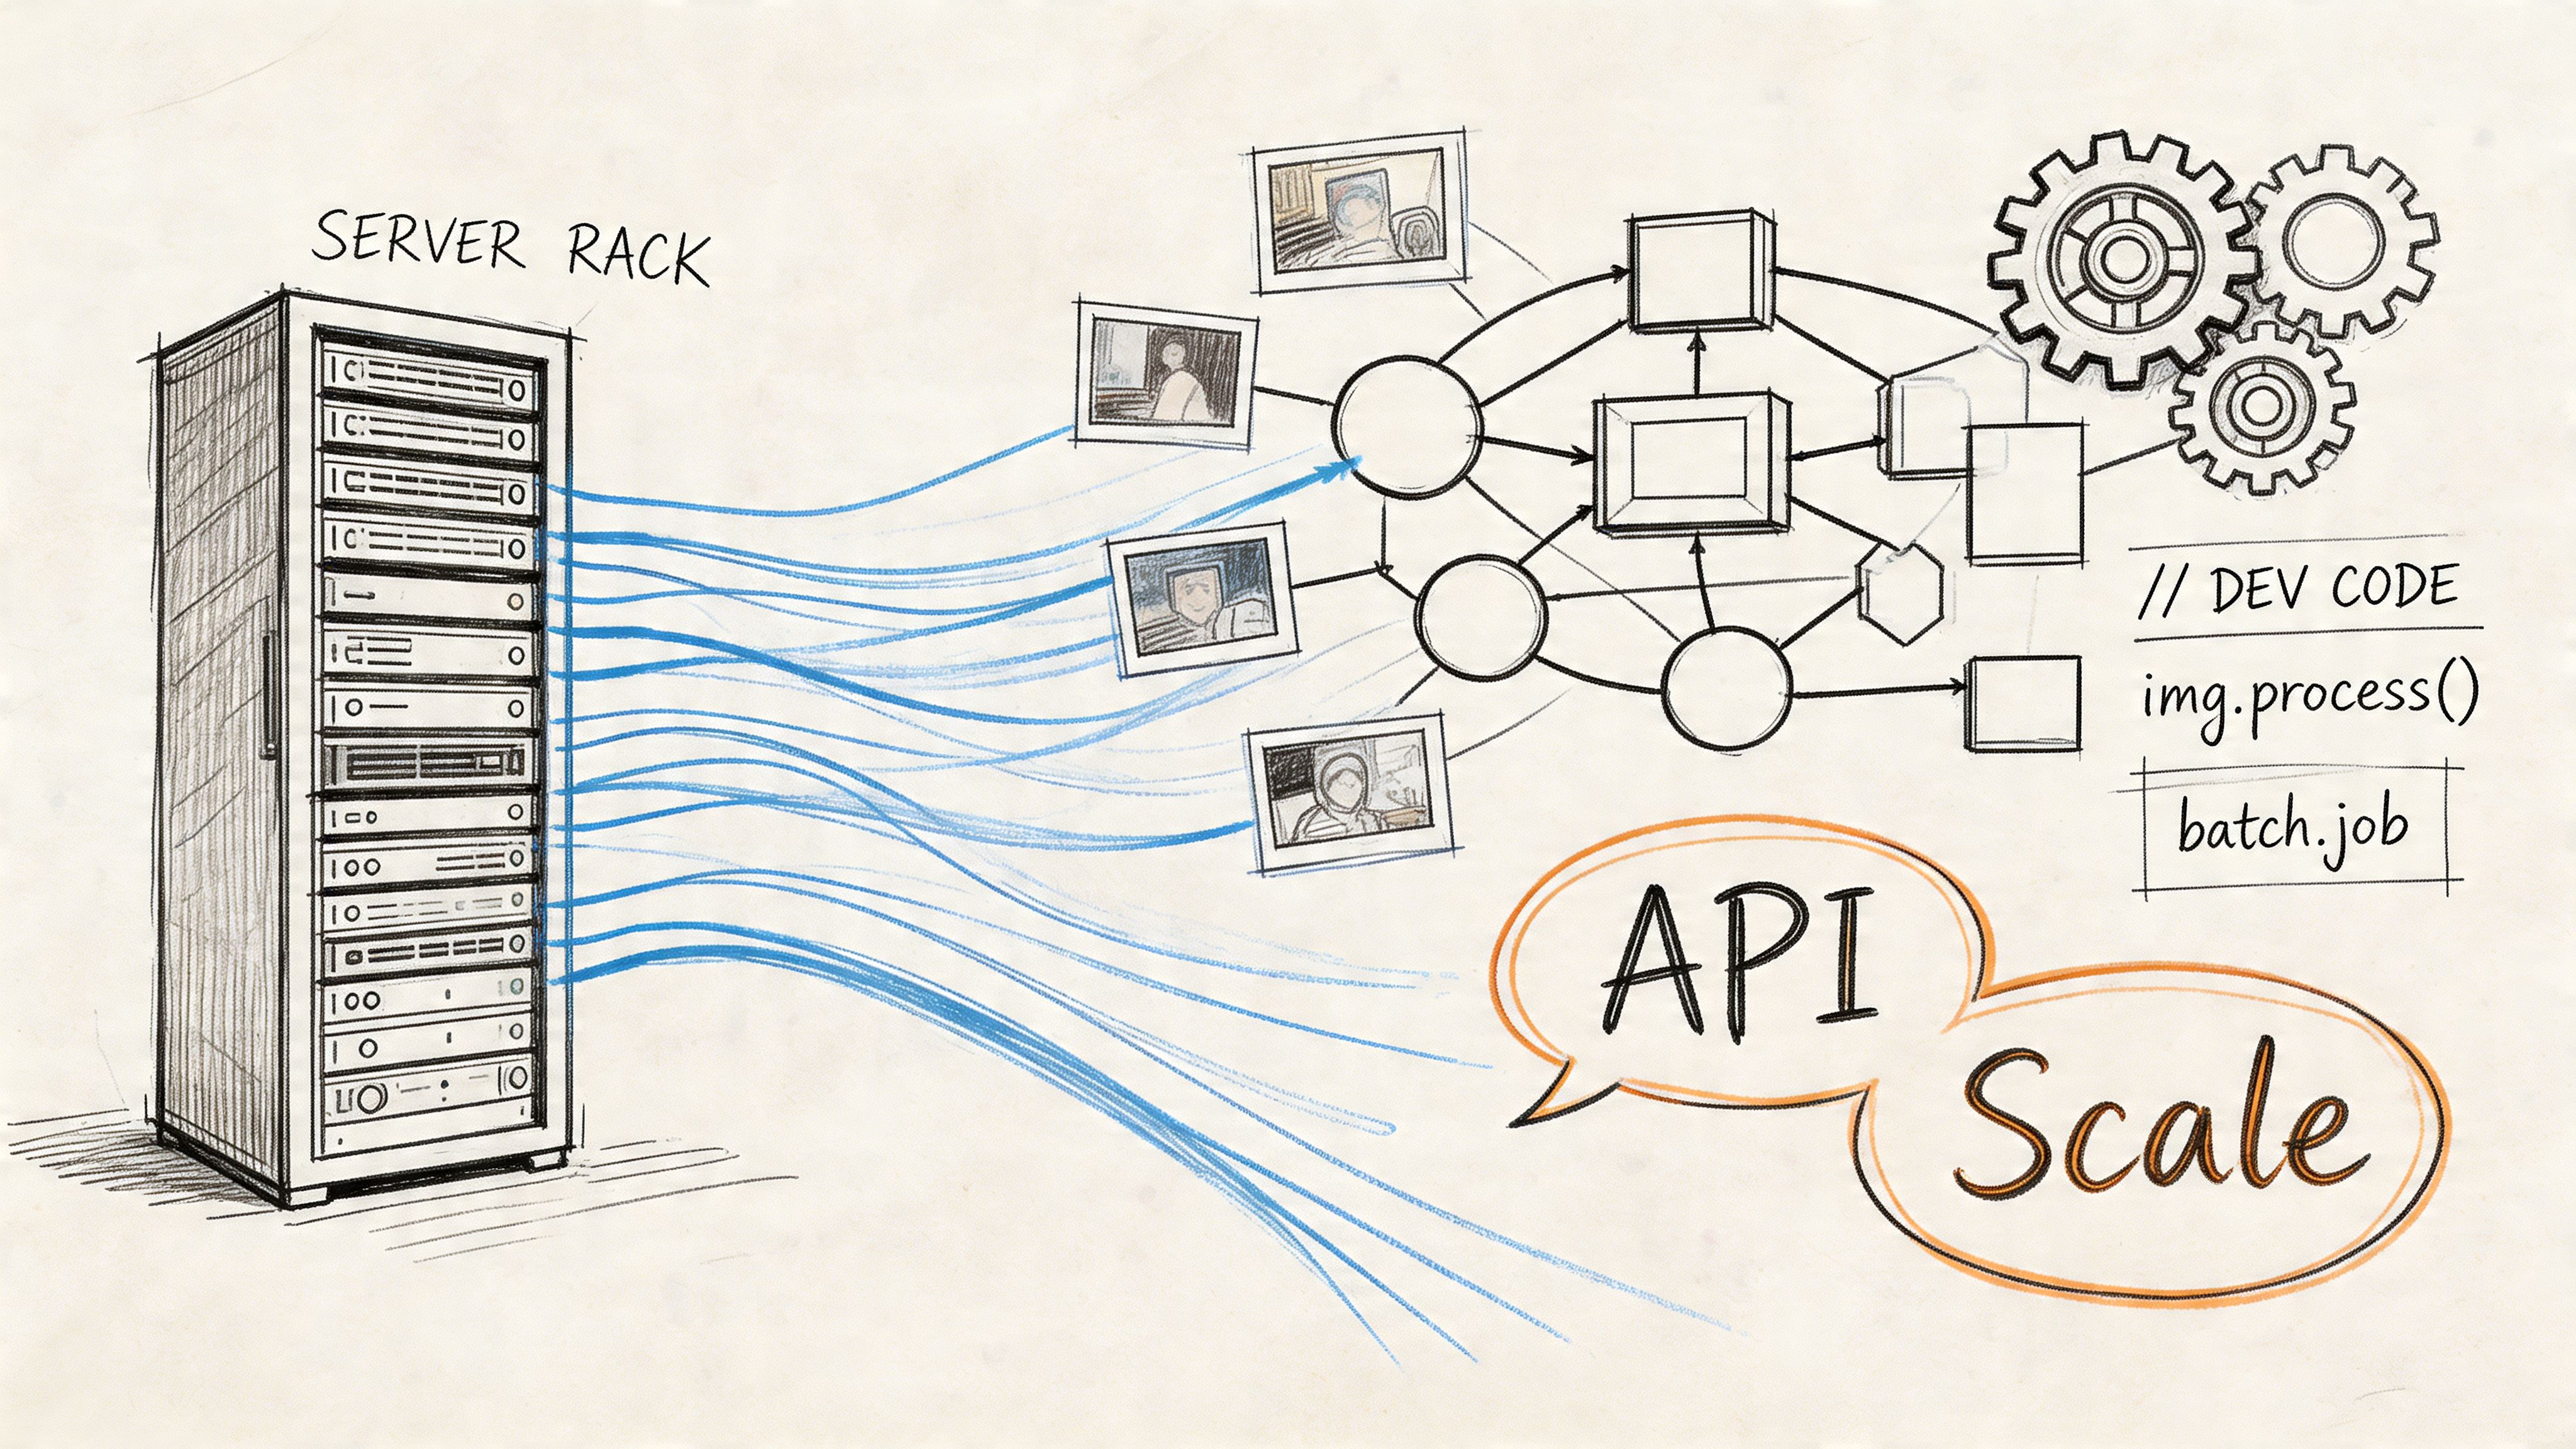
Advanced Workflows for Developers and Power Users
At scale, photo anonymization stops being an editing task and becomes infrastructure.
A single editor can review a handful of images manually. That approach falls apart when a team needs to process event galleries, moderation queues, property listings, insurance documentation, or security archives.
Batch handling needs consistent rules
The hard part in larger workflows isn't applying blur. It's applying the same standard every time.
A developer or operations team usually needs three things:
- Automated detection: The system should identify likely sensitive regions without waiting for manual markup on every file.
- Human override: Reviewers need a way to correct misses and false positives.
- Repeatable outputs: The same classes of content should receive the same treatment across jobs.
That matters because inconsistency creates downstream risk. If one image pipeline pixelates faces and another uses weak blur, legal review becomes unpredictable.
API integration makes anonymization part of the pipeline
For product teams, the useful model is straightforward. Upload media, pass detection and effect settings through an API, receive a processed output, and log the action for traceability.
The demand for this kind of workflow is already broad. A Deloitte survey cited in industry research found that 92% of organizations were using image anonymization in workflows by 2023. That supports the move toward scalable processing rather than ad hoc editing.
Typical integration points include:
| Use case | How API blurring fits |
|---|---|
| User-generated content moderation | Redact faces or plates before review or publication |
| Newsroom CMS workflows | Pre-process incoming field images for editor approval |
| Security operations | Prepare evidence stills for distribution outside the core team |
| Internal knowledge bases | Remove employee and customer identifiers from uploaded images |
What power users should configure
The most useful systems expose a few controls clearly.
Some teams want blur. Others want pixelation or masking. Some need to target faces only. Others need custom object regions or manual review queues. Good integrations don't assume one policy fits every file type.
In practice, power users should define:
- Detection targets: Faces, plates, screens, documents, or custom regions
- Effect type: Blur, pixelation, or mask
- Output policy: Export format, resolution, naming, and storage destination
- Review threshold: Which files publish automatically and which require human approval
The real gain is operational, not cosmetic
Once anonymization is in the pipeline, teams stop treating it like a last-step edit. It becomes part of ingestion, moderation, and publication control.
That's the shift worth making. If your organization handles images continuously, the mature answer isn't "who can blur this quickly?" It's "how do we make sure sensitive media is treated correctly before anyone downstream can misuse it?"
Frequently Asked Questions
Is blurring a face enough to make a photo anonymouså
Not always. A face may be obscured while other details still identify the person, such as clothing, tattoos, location, companions, or visible text in the scene. Review the whole frame, not just the obvious target.
Is Gaussian blur safe for privacy redaction?
Sometimes, but it shouldn't be assumed safe by default. As noted earlier, standard Gaussian blur can preserve enough structure to leave people recognizable. For higher-risk use cases, pixelation or masking is often the safer option.
Is blurred text still readable?
It can be, especially when the blur is weak or the text is large and high contrast. If the text contains names, account details, addresses, or identifiers, masking is usually the safer choice.
What's the difference between image and video anonymization?
Images let you inspect one frame carefully. Video adds motion, tracking, and consistency problems. A face or plate has to stay obscured across changing positions, angles, and lighting. That makes review and automation more demanding.
Should I keep the original unblurred photo?
Only if you have a clear reason and controlled storage. For routine publishing, teams should restrict access to originals and separate them from approved redacted exports. The edited file is for distribution. The original is a controlled asset.
Can I use general design software instead of a dedicated anonymization tool?
Yes, but it's usually slower and easier to get wrong when you're under time pressure. General editors are good at image editing. They're not always built for privacy-first handling, repeatability, or batch workflows.
If you need to blur parts of photo quickly without falling back to a slow desktop workflow, Blurit is one browser-based option for handling faces, license plates, and other sensitive elements in photos and videos. It supports AI detection, manual refinement, multiple anonymization effects, and API-based workflows for teams that need something more structured than one-off editing.