How to Blur Text: Complete Guide for Images, PDFs & Videos [2026]
You're usually trying to solve a simple problem fast. A screenshot has an email address in it. A PDF includes a client name. A video clip catches a badge, a license plate, or a document in the background. You need to share the file, but some of the text can't go with it.
Quick Answer — How to blur text in 30 seconds: the fastest way to blur text securely is to open Blurit Studio, drop your image, PDF page or video, let the tool detect text regions automatically and export — done in three clicks. For PDFs, use Adobe Acrobat Pro's Redact tool (or convert pages to images first). For videos, use automatic text tracking in Blurit, CapCut or DaVinci Resolve. Want the full guide on security, compliance and tool comparisonså Read on.
Blur is often the first choice because it looks hidden. That's exactly where the mistakes start. In privacy work, the question isn't whether the text looks unreadable on screen. The real question is whether anyone can recover it later — by copy-paste, OCR, metadata extraction, or image reconstruction.
That distinction matters whether you need to blur text for a social post, a legal review, a newsroom publication, an internal demo, or evidence handling. Some methods are fast but weak. Some are secure but slower. Some only create the appearance of redaction.
Why Blurring Text Is Harder Than It Looks
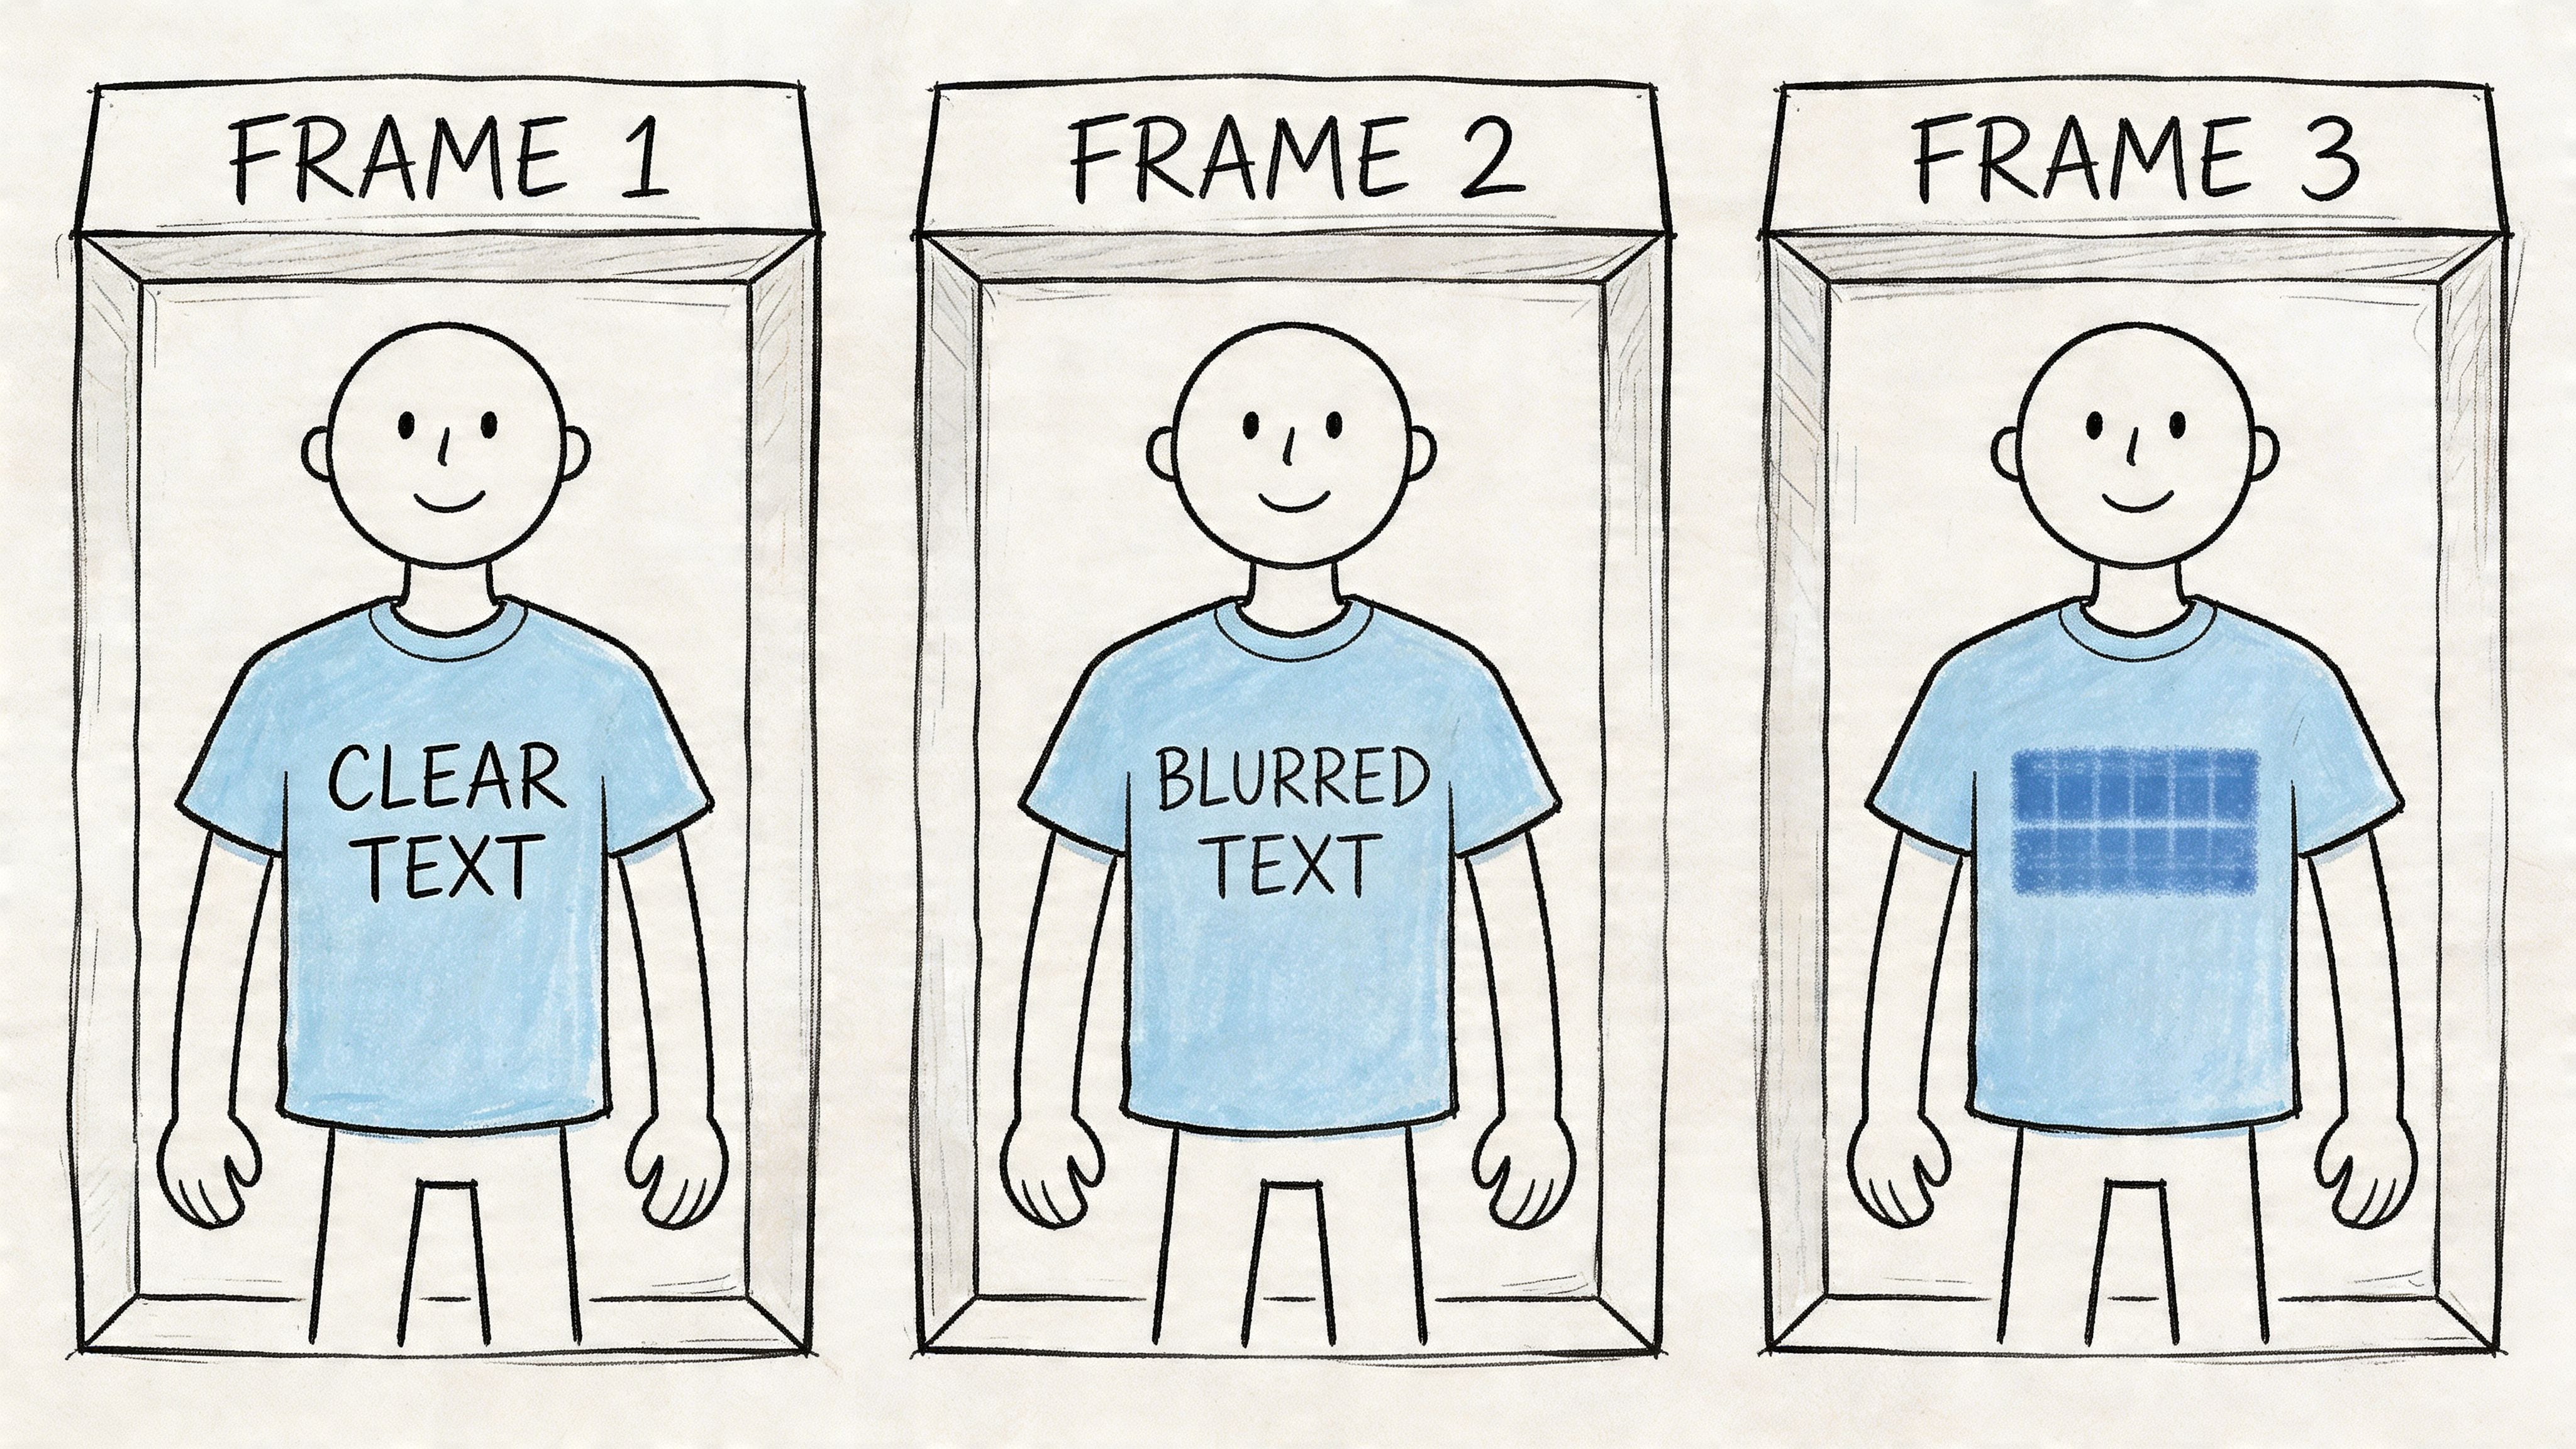
If you search for how to blur text, most tutorials still treat it like a design effect. They show motion blur, Gaussian blur, feathered masks, or pixelation. Those techniques can hide text from casual viewing, but they often fail the moment privacy becomes the goal.
The demand for privacy-focused methods is rising. Existing content largely misses that need, even as searches for GDPR-focused PDF blurring have spiked and unredacted text remains part of breach scenarios, according to this overview of the content gap and privacy risk.
Aesthetic blur and security redaction are two different jobs
An aesthetic blur changes appearance. It's useful when you want a stylized look, a teaser, or a temporary concealment in a mockup.
A security redaction removes or irreversibly obscures the sensitive content so it can't be reconstructed or extracted.
That difference shows up in practice:
- A screenshot editor blur may leave enough edge detail for text reconstruction.
- A black rectangle in a PDF viewer may leave the underlying selectable text intact.
- A web blur effect (CSS filter) can be reversed by inspecting the page.
- A proper redaction tool changes the file so the sensitive content is gone, not just covered.
Practical rule: if the text contains personal data, credentials, customer details, source identities, or case evidence, treat the task as redaction — not decoration.
The real standard is « unrecoverable »
Professionals often think in terms of readability. Privacy teams have to think in terms of recoverability. Could another person zoom in, enhance, OCR, inspect layers, or export the raw file and get the text back?
This is more than theory. According to a thesis on PDE-based deblurring methods, advanced nonlinear models can reverse and reconstruct text from moderately blurred images with over 90% accuracy. That means simple blur and pixelation are not reliable protection for sensitive information.
If you only remember one point, use this one: when the text is sensitive, the right workflow isn't « make it hard to read ». It's « make recovery impossible ».
Choosing Your Blurring Method: A Framework
Before opening any app, decide two things. First, are you handling the text manually or automatically? Second, do you need the result to be reversible or irreversible?
Those two choices determine most of the trade-offs that matter.
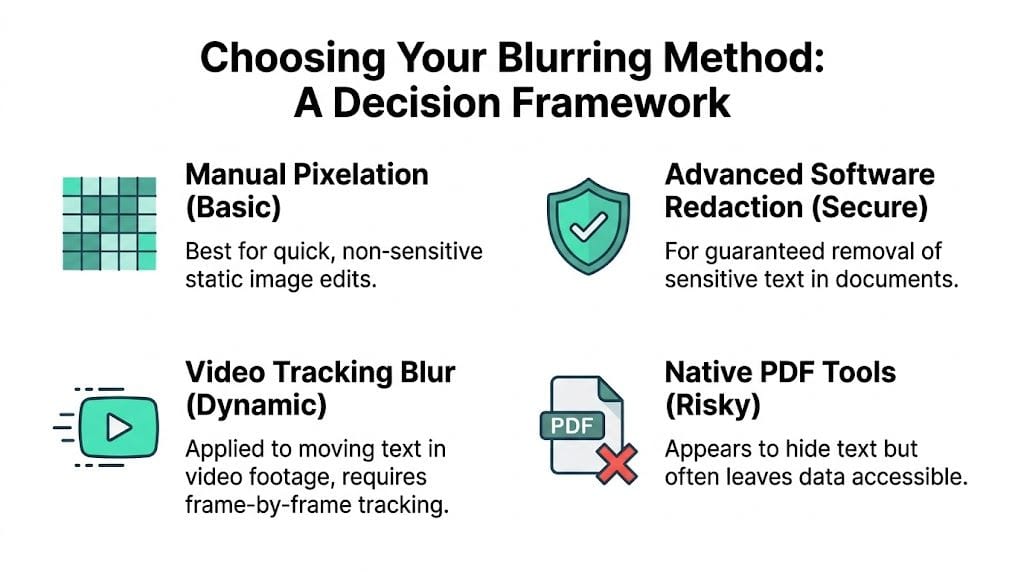
The four common paths to blur text
| Method | Speed | Control | Security | Best fit |
|---|---|---|---|---|
| Manual blur or pixelation on an image | Fast for one file | High on small edits | Low | Non-sensitive visual cleanup |
| Automated text detection with blur or mask | Fast at scale | Medium to high | Depends on export method | Repeated screenshot and image workflows |
| Native PDF overlay or drawn box | Fast | Medium | Risky | Cosmetic review copies only |
| True PDF redaction tool | Slower than casual editing | High | High | Compliance, legal, journalism |
The weak point in many workflows is assuming blur equals protection. It doesn't.
Manual versus automatic
Manual work gives precise placement. That matters when only one label, one account number, or one source name needs to disappear. It also gives you direct visual confirmation before export.
Automatic detection matters when you're processing batches, reviewing many screenshots, or tracking text across video. It reduces missed instances and cuts the repetitive work that causes human error. Use manual editing when the file count is low and the text is obvious. Use automatic detection when speed and coverage matter more than hand-tuning every box.
Reversible versus irreversible
This is the decision that most guides skip.
- Reversible effects — for mockups, presentations, internal drafts, and creative assets where the text isn't sensitive.
- Irreversible methods — for anything involving personal data, protected identities, regulated records, legal material, or customer information.
Blur is a visual effect. Redaction is a data-handling decision. If you're unsure, choose the more secure path — the small cost in editing time is usually cheaper than fixing an exposure later.
How to Blur Text in Images and Screenshots
A screenshot looks simple. It's still one of the easiest places to make a privacy mistake, because the edit gets judged by appearance instead of recoverability.
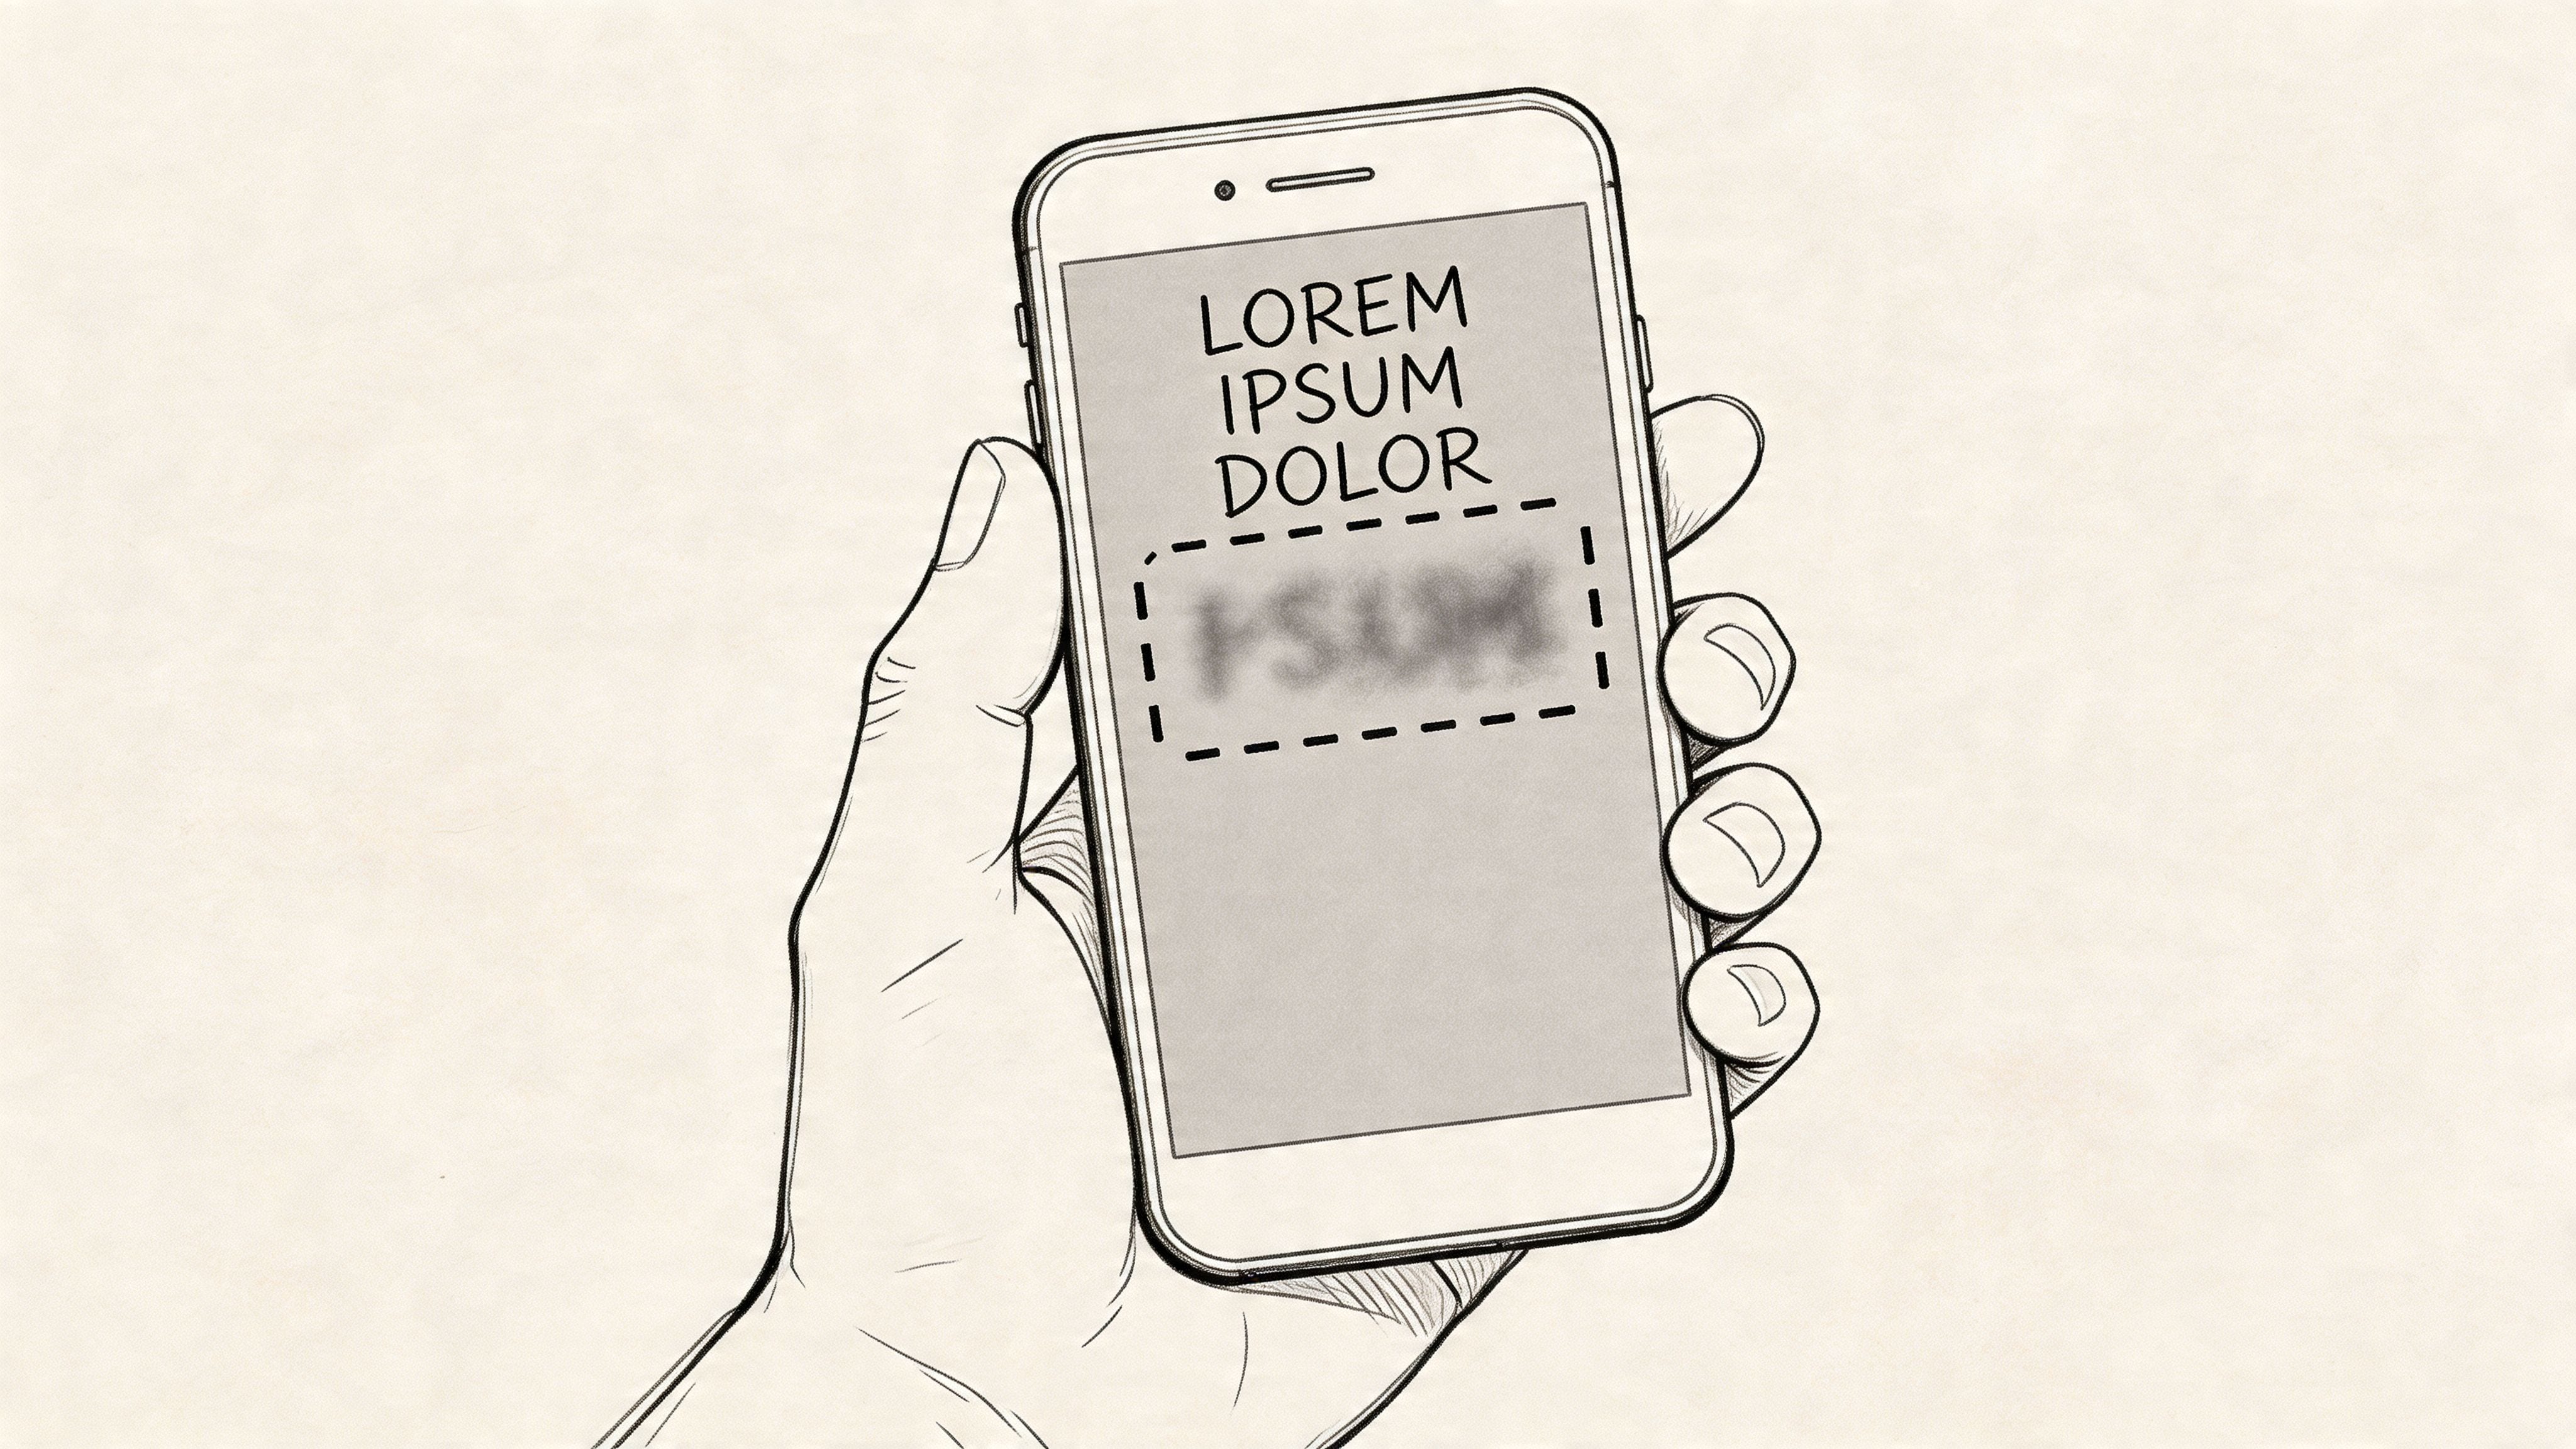
Images and screenshots are flattened, so you don't have hidden document text or layers to remove the same way you would with PDFs. That makes the workflow simpler. It does not make blur safe. If the text matters for privacy, the real question is not whether you can hide it from casual viewing — it's whether anyone can recover or infer it after export.
How to blur text on iPhone
iPhone gives you two built-in options. Both are fine for low-risk content; neither is suitable for sensitive text.
- Open the screenshot in Photos → Edit → Markup.
- Select the pen or the highlighter and drag a thick black bar across the text. For more control, use the shape tool, draw a rectangle, then fill it with a solid color.
- Tap Done → Save. The Markup tool flattens the edit, so the text is no longer present in the exported PNG.
If you need to blur text on iPhone for sensitive data (account numbers, IDs, source identities), avoid the built-in blur effect found in some third-party apps — most use a CSS-style filter that doesn't survive at high zoom. Use Blurit Studio directly from Safari instead: it processes the image in your browser, so the screenshot never leaves your device.
How to blur text in Canva
Canva is great for cosmetic blurring on social posts, but it's not a redaction tool. Treat the result as appearance only.
- Open your design and click the image you want to edit.
- In the top toolbar, choose Edit image → Effects → Blur.
- Use the Brush mode to paint over the text region only, or apply Auto for the entire image.
- Click Apply, then Download as PNG or JPG.
Canva's blur is a Gaussian filter — visually smooth, but recoverable with the right tools. If your design contains personal data, switch to a solid rectangle (Elements → Shapes → black square) on top of the text before exporting.
How to blur text in Photoshop
Photoshop is the most flexible desktop option, and the most error-prone if you forget to flatten the file.
- Open the image and duplicate the background layer (Ctrl/Cmd + J).
- Use the Rectangular Marquee to select the text region.
- Apply Filter → Pixelate → Mosaic with a cell size large enough that no character edges remain (start at 20 px on a 1080p screenshot).
- Deselect, then Layer → Flatten Image.
- Export with File → Export As → PNG. Never share the .psd — it preserves the original layer.
Mosaic is more reliable than Gaussian Blur for sensitive text because it removes character structure. Pair it with a hard solid fill if you're publishing for a wide audience.
How to blur text in Word
Microsoft Word doesn't have a native blur filter for body text, so the safe approach is to convert the sensitive region to an image, then black it out.
- Take a screenshot of the page (or use Insert → Screenshot).
- Crop the image and drag a black rectangle (Insert → Shapes → Rectangle, Shape Fill: Black, no outline) over the text.
- Group the rectangle with the image (right-click → Group).
- Right-click → Save as Picture to export a flattened PNG, then re-insert that image where the original sensitive text used to be and delete the source paragraph.
For Word documents that will be distributed externally, export to PDF and run the file through Acrobat's Redact tool — the section below covers this in detail.
A practical workflow for low-risk image edits
For mockups, demos, internal drafts, or social posts where the hidden text isn't sensitive, a manual edit is usually enough. Standard editors such as GIMP, Preview, Photos, Paint.NET, Photoshop, and built-in markup tools can all handle this job.
- Save a clean original first. Don't edit your only copy.
- Zoom in before selecting. Fit-to-screen editing hides edge mistakes.
- Cover more than the visible letters. Include a margin so character edges and anti-aliasing don't survive.
- Choose concealment based on risk. Blur and pixelation work for visual de-emphasis. A solid fill works better when the text should not be reconstructed.
- Export to a flat image format. Send the rendered output, not an editable project file.
- Reopen the exported file at high zoom and run OCR. If OCR can read it, recipients can too.
That workflow is fast and controllable. It's also easy to outgrow: once a screenshot contains several identifiers, small labels near the edge, or repeated values across multiple files, manual edits become error-prone — that's where automated detection (see our 3-click pixelation guide) saves real time.
Where image blurring goes wrong
The failure mode is usually simple. The blur looks strong at normal size, then the recipient zooms in and can still read part of a name, infer an account number from its shape, or recover context from surrounding labels.
Three problems show up repeatedly:
- Partial coverage. Corners, toolbars, notification banners, and timestamps get missed.
- Weak masking. The blur softens the text but leaves enough structure to recognize it.
- Bad exports. Editable formats or layered files preserve more information than the sender expected.
I treat blur in images as an aesthetic effect unless the risk is low and the audience is trusted. For privacy protection, masking is the safer default.
How to Blur Text in PDF Documents Securely
PDFs are where many people make their worst anonymization mistakes. The file looks static, so they assume it behaves like an image. It doesn't. A PDF may contain selectable text, embedded fonts, layers, annotations, and searchable content underneath what you see on screen.
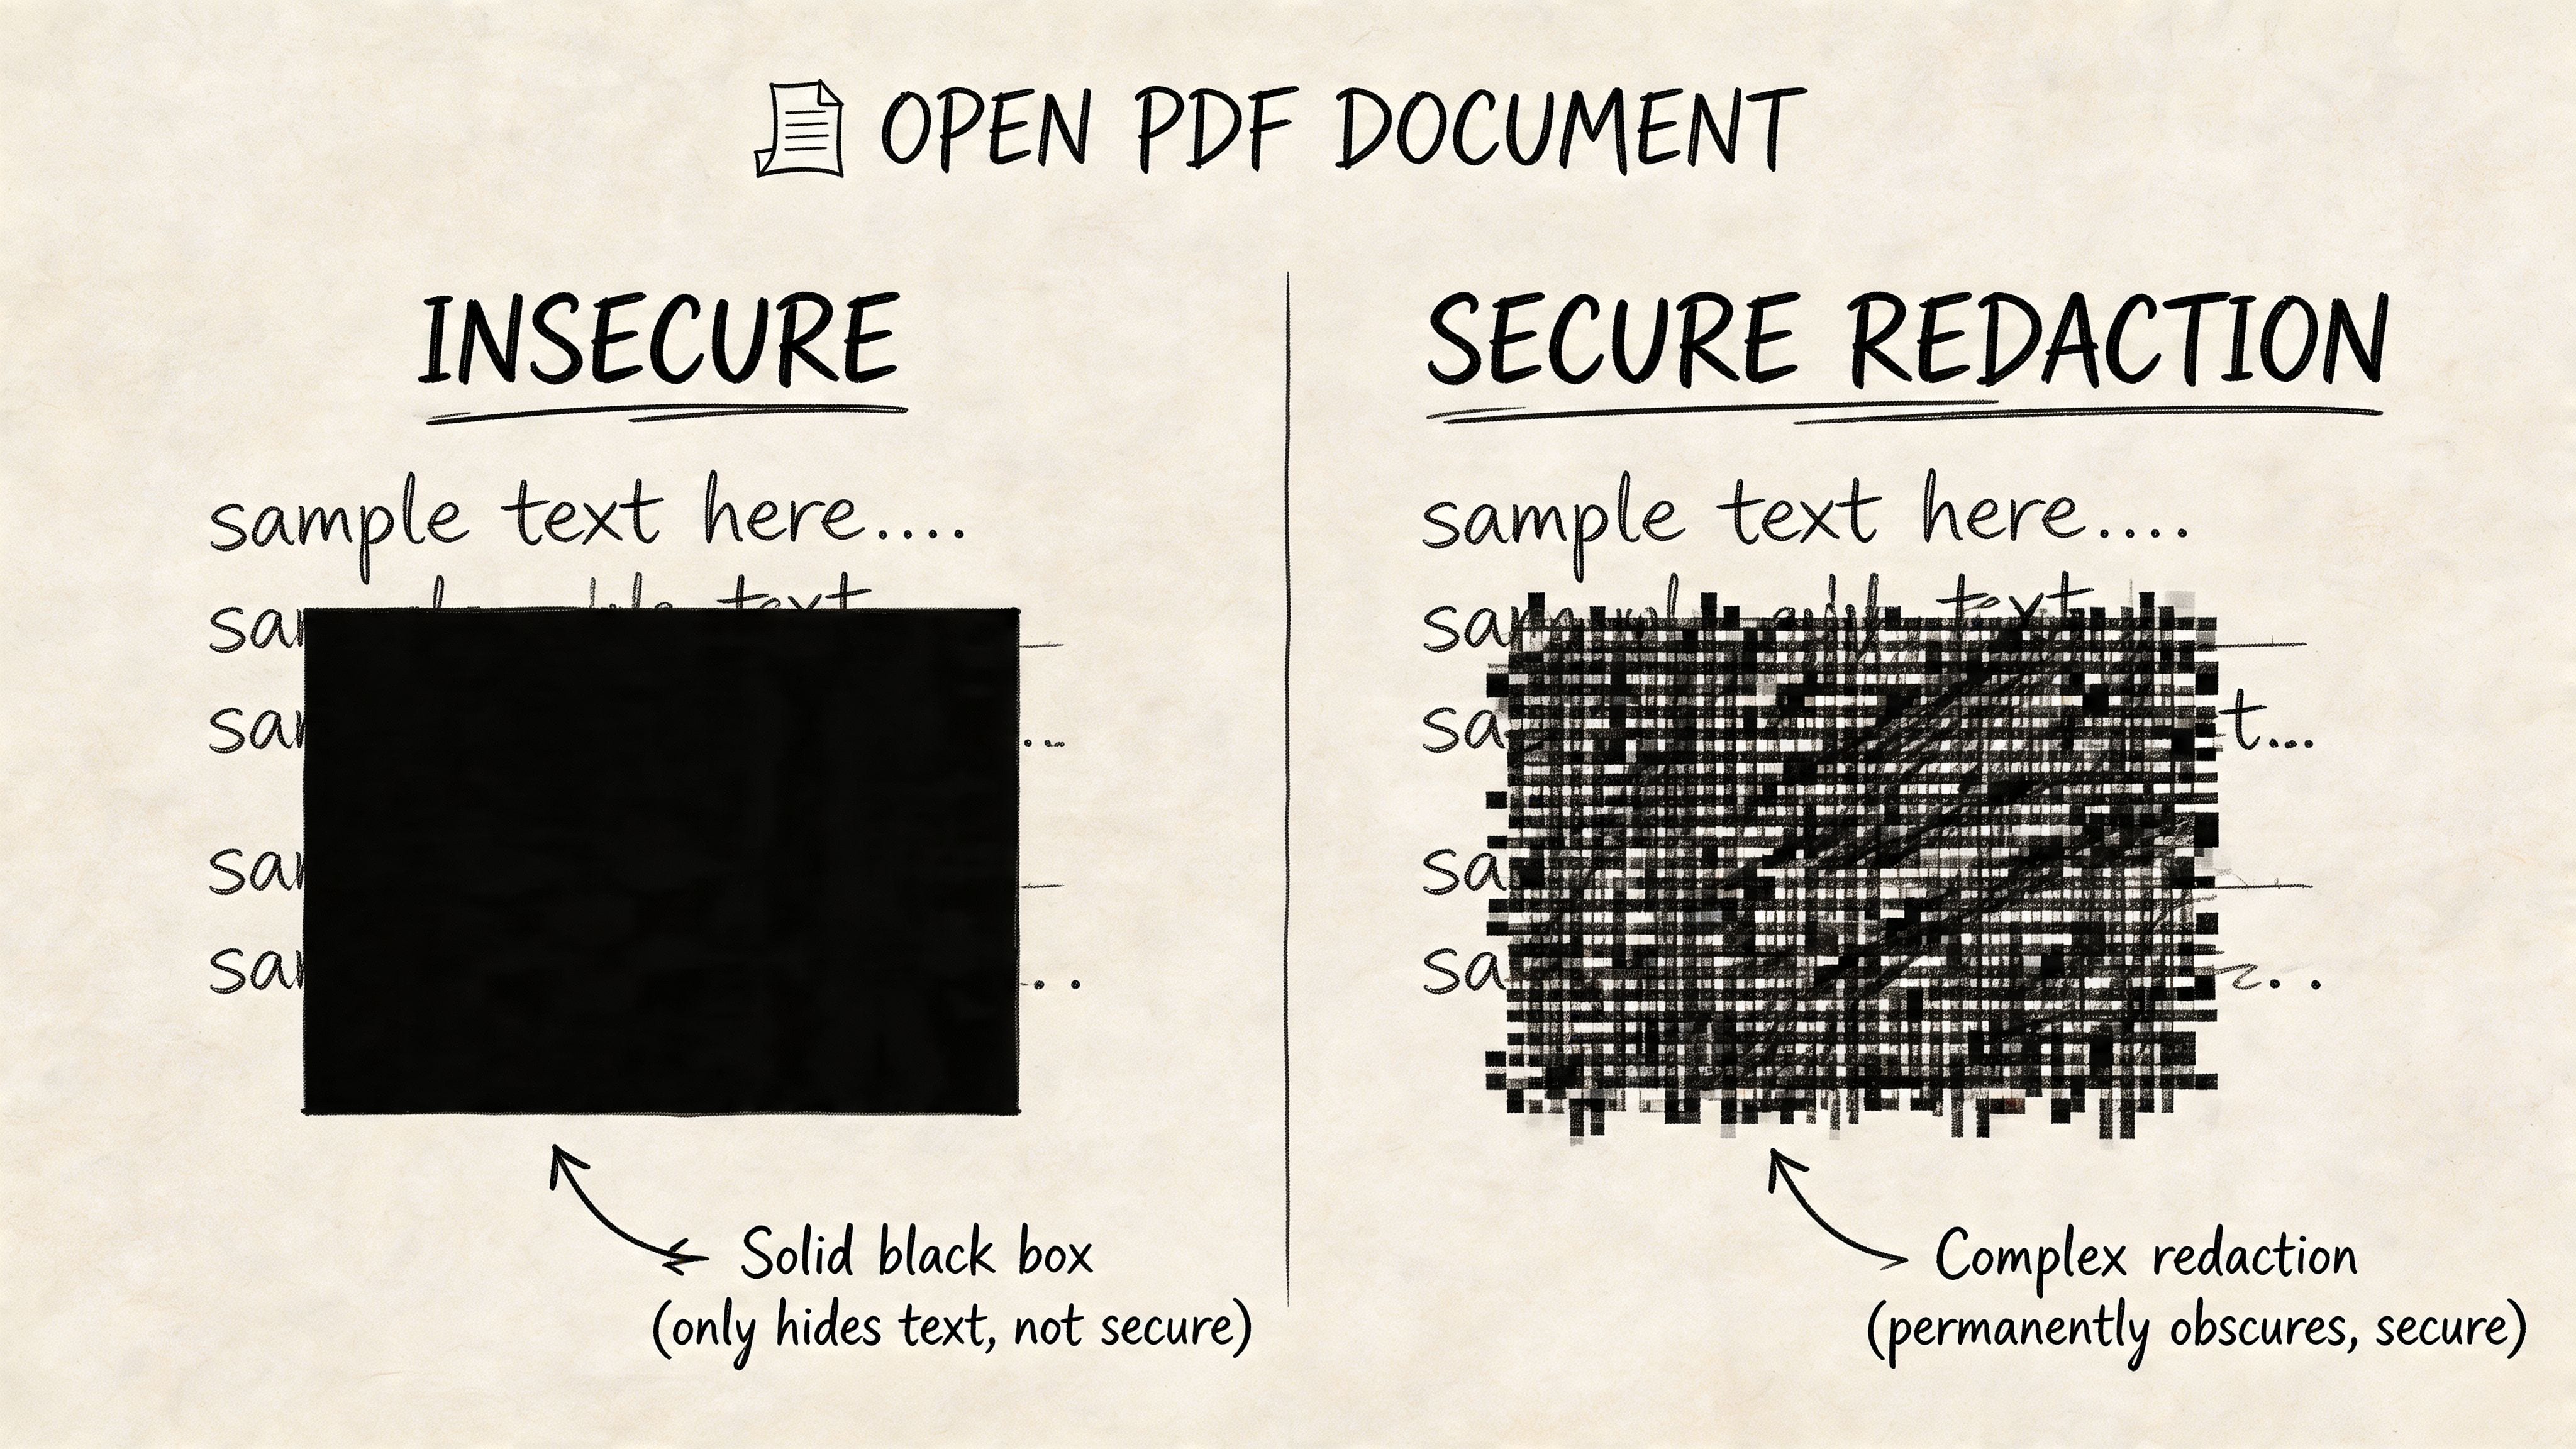
Why « black boxes » fail in PDFs
The common mistake is simple. Someone opens a PDF, draws a black rectangle over the text, saves it, and sends it out. Visually, the text seems gone. In the file, it often remains fully present.
This guide to safe PDF redaction and blur methods explains the difference clearly: using a black box to hide PDF text is not secure because the underlying data often remains, while true redaction removes the data permanently. The same source notes that simple pixelation can be reversed in up to 60% of cases by forensic tools.
That creates two separate risks:
- The recipient can sometimes copy and paste the hidden text.
- A reviewer can extract the text through search, OCR, or forensic inspection.
How to blur text in PDF (the correct Acrobat workflow)
If you use Adobe Acrobat Pro DC, the dedicated Redact tool is the right mechanism. The practical sequence is straightforward:
- Open Tools → Redact → Mark for Redaction.
- Choose Text & Images.
- Drag over the sensitive regions or use Find & Redact if the text is machine-readable.
- Set the appearance if needed (color, overlay text).
- Click Apply → Save As a new sanitized file.
That final step matters. Marking a redaction is not the same as applying it. Until application happens, you may still have a recoverable file.
Verification habit: after redaction, try selecting text in the redacted area, searching for a removed word, and copying nearby content into a plain text editor. If anything from the « hidden » region appears, the redaction wasn't applied.
What to watch for in real PDFs
PDFs get messy when they contain scans, rotated pages, mixed columns, or nonstandard fonts. Even professional tools can need manual review in those cases. Pay special attention to:
- Scanned PDFs. OCR may be needed before search-based redaction catches text reliably.
- Rotated content. Vertical labels and angled stamps are easy to miss.
- Headers and footers. Repeated names or IDs often appear on every page.
- Comments and hidden layers. Visual cleanup alone may not remove them.
For volume, see our walkthrough on OCR-based text redaction — it's the right approach when you're processing dozens of documents at once.
An image-based PDF route
Sometimes the simplest secure option is to treat each page like an image. Convert the PDF pages to flat visuals, anonymize the text there, and export a new sanitized file. That works well for workflows that prioritize speed and don't need searchable text in the final document.
The trade-off is usability — you lose text search and selectable copy. But you gain a cleaner path to irreversible concealment when the original PDF structure is hard to trust. If you're learning how to blur text in PDF documents, this is the rule to keep: never assume appearance equals removal.
Effectively Anonymizing Text in Videos
Video adds one problem that images don't have: the text moves. A shirt slogan shifts as someone walks. A badge swings. A document enters and leaves frame. A street sign passes behind a subject. Once time enters the workflow, a static blur box stops being useful.
Why manual masking becomes expensive fast
Traditional video editing tools let you draw masks and keyframe them over time. That can work for short clips with one obvious target. It becomes tedious when text changes position, perspective, size, or focus. The workload usually grows in three ways:
- One clip contains multiple text regions.
- The text moves through busy scenes.
- The footage runs long enough that frame-by-frame correction becomes review work, not editing.
For documentary teams, newsroom staff, security operators, and marketers clipping live footage, manual masking is often the bottleneck.
What automated tracking should do
A useful video anonymization workflow starts with automatic text (and face / plate) detection, then tracks the target across frames so the blur, pixelation, or mask follows it consistently. Look for these features when choosing a tool:
- Frame-to-frame tracking — the mask follows movement without constant correction.
- Manual override — you need a way to fix misses, drift, or false positives.
- Batch processing — important when multiple clips need the same treatment.
- High-resolution export — especially relevant for broadcast, evidence review, and client delivery.
- Consistent anonymization style — the blur strength or mask shape shouldn't flicker frame to frame.
For automated workflows on faces and plates that combine well with text masking, see our AI face blur for video service page.
A practical process for video text anonymization
- Scrub the clip once before editing. Identify all moments where text appears, even briefly.
- Run automatic detection or tracking where available.
- Review the first, middle, and last appearances of each tracked region. That's where drift usually shows up.
- Switch to a solid mask instead of blur when the text is sensitive and remains large enough to infer.
- Export, then watch the final render in real time. Don't rely on the editor preview alone.
This walkthrough shows a video anonymization workflow in action:
Blur versus block in video
In video, people often choose blur because it looks smoother and less intrusive. That's fine for aesthetic edits and low-risk publishing. For privacy, a harder mask is often the safer option because it removes more visual structure.
Moving footage creates false confidence. If the text only appears for a second, viewers may miss it — but a paused frame won't.
The standard to edit against isn't whether a viewer notices during playback — it's whether a reviewer can stop the clip and recover the information from a single frame. For face-specific guidance that pairs well with text anonymization, see how to blur a face in photos and videos.
Ready to blur text securely?
Blurit handles images and videos with automatic text, face and plate detection, and browser-side processing.
Open Blurit StudioPrivacy, Security and Compliance Considerations
Text anonymization used to be treated as cleanup. In many workflows, it's now part of compliance. Once a file includes names, addresses, account details, source identifiers, or other personal data, the way you hide that text becomes a governance decision.
The turning point for many organizations was GDPR. Its adoption on May 25, 2018 imposed strict data protection rules across the EU, affecting over 500 million citizens, and fines for non-compliance reached €2.7 billion by 2023, according to this GDPR and text anonymization overview. The same source notes that 85% of journalists redact footage before publishing.
Privacy by design — choose the method early
The safest teams don't leave anonymization to the final export pass. They decide early which files may contain sensitive text and which tools are allowed for handling it. That changes behavior in practical ways:
- Marketers avoid sharing raw screenshots with customer details.
- Journalists protect names before footage enters wider review.
- Legal teams build redaction into document handling, not just publication.
- Security teams treat license plates, IDs, and on-screen records as data, not scenery.
The compliance question is simple
Ask one question before editing: if this text were exposed, would it create legal, ethical, or operational risk?
If the answer is yes, then appearance isn't enough. You need an irreversible method and a verification step. That's true whether the file is going to a client, a regulator, a newsroom partner, or a public channel. A strong workflow usually includes:
- Approved tools only — not every editor is suitable for sensitive files.
- Review before release — someone checks the final export, not just the working file.
- Retention controls — keep originals only where there's a justified need.
- Documented handling — teams know when blur is acceptable and when redaction is required.
Good anonymization protects more than compliance. It protects sources, customers, employees, and the credibility of the team publishing the file.
Final Takeaways and Best Practices
If you need to learn how to blur text, start by dropping the assumption that all concealment methods are equal. They aren't. Some only change appearance. Others remove or irreversibly hide the underlying information.
Use this checklist before sharing any file:
- Classify the text — cosmetic, confidential, personal, or regulated?
- Match the method to the risk — blur for appearance, redaction for protection.
- Treat PDFs carefully — overlays are not the same as true removal.
- Use tracking for video — static masks won't hold on moving footage.
- Review the export, not just the project file — final output is what others receive.
- Prefer irreversible methods when unsure — the safer choice is usually the right one.
The main trade-off is straightforward. The fastest method is often the weakest. The secure method usually takes a bit more care. For sensitive text, that extra care is worth it.
FAQ — Blurring text in images, PDFs and videos
Yes — moderately blurred text can be reconstructed by deblurring algorithms with over 90% accuracy in published research. For sensitive data (names, account numbers, IDs), use a solid mask or a true redaction tool instead of a blur filter. If you must use blur, pair it with strong pixelation (large block size) and verify the export by running OCR against it.
The safe path: open the PDF in Adobe Acrobat Pro DC → Tools → Redact → Mark for Redaction, drag over the text, then click Apply and save a new file. Drawing a black rectangle without the Redact tool leaves the underlying text searchable and copyable. For a free alternative, convert PDF pages to images, mask the text in an image editor, then re-assemble — you'll lose text search but gain irreversible concealment.
Open the screenshot in Photos, tap Edit → Markup, then drag a thick black line or a filled rectangle over the text. Save as a new image. iOS flattens the markup into the PNG, so the text is no longer recoverable from the file. For sensitive data, prefer this over the « blur sticker » effect found in some third-party apps, which often relies on a recoverable filter.
Not on its own. GDPR requires that personal data be anonymized in a way that prevents re-identification. A reversible blur on a screenshot, or a black rectangle drawn on top of selectable PDF text, generally fails that bar. Use irreversible methods (true redaction in Acrobat, pixelation with large block size, or solid masks on flattened exports) and document the workflow used for each release.
Yes for images and videos: Blurit Studio detects faces, license plates and text regions automatically, and lets you add manual masks where needed. Processing happens in your browser, so the file never leaves your device. For PDFs, convert pages to images first (or use Acrobat's Redact tool for native PDF text). No signup is required for basic use.
Related guides: how to pixelate a picture online · blur a face in photos & videos · AI face blur for video · OCR-based text redaction · what does « redacted » mean.