How to blur a face in a video (and avoid common mistakes) — guide 2026

How to blur a face in a video (and avoid common mistakes) — 2026 guide
Shot a vlog, street interview, or travel video and bystanders appear in the frame? Before publishing on YouTube, TikTok, or Instagram, you should blur faces to protect people’s privacy. Here’s how to do it properly—and the most common mistakes to avoid.
Why blur faces in your videoså
Publishing identifiable faces without consent can lead to:
- Takedown requests: someone may ask you to remove the video
- Platform reports: YouTube/TikTok may restrict or remove content
- Legal risk: privacy and image rights vary by country
- Compliance issues: especially if you’re a business handling personal data
Blurring faces helps you publish more safely while respecting privacy.
3 ways to blur a face in a video
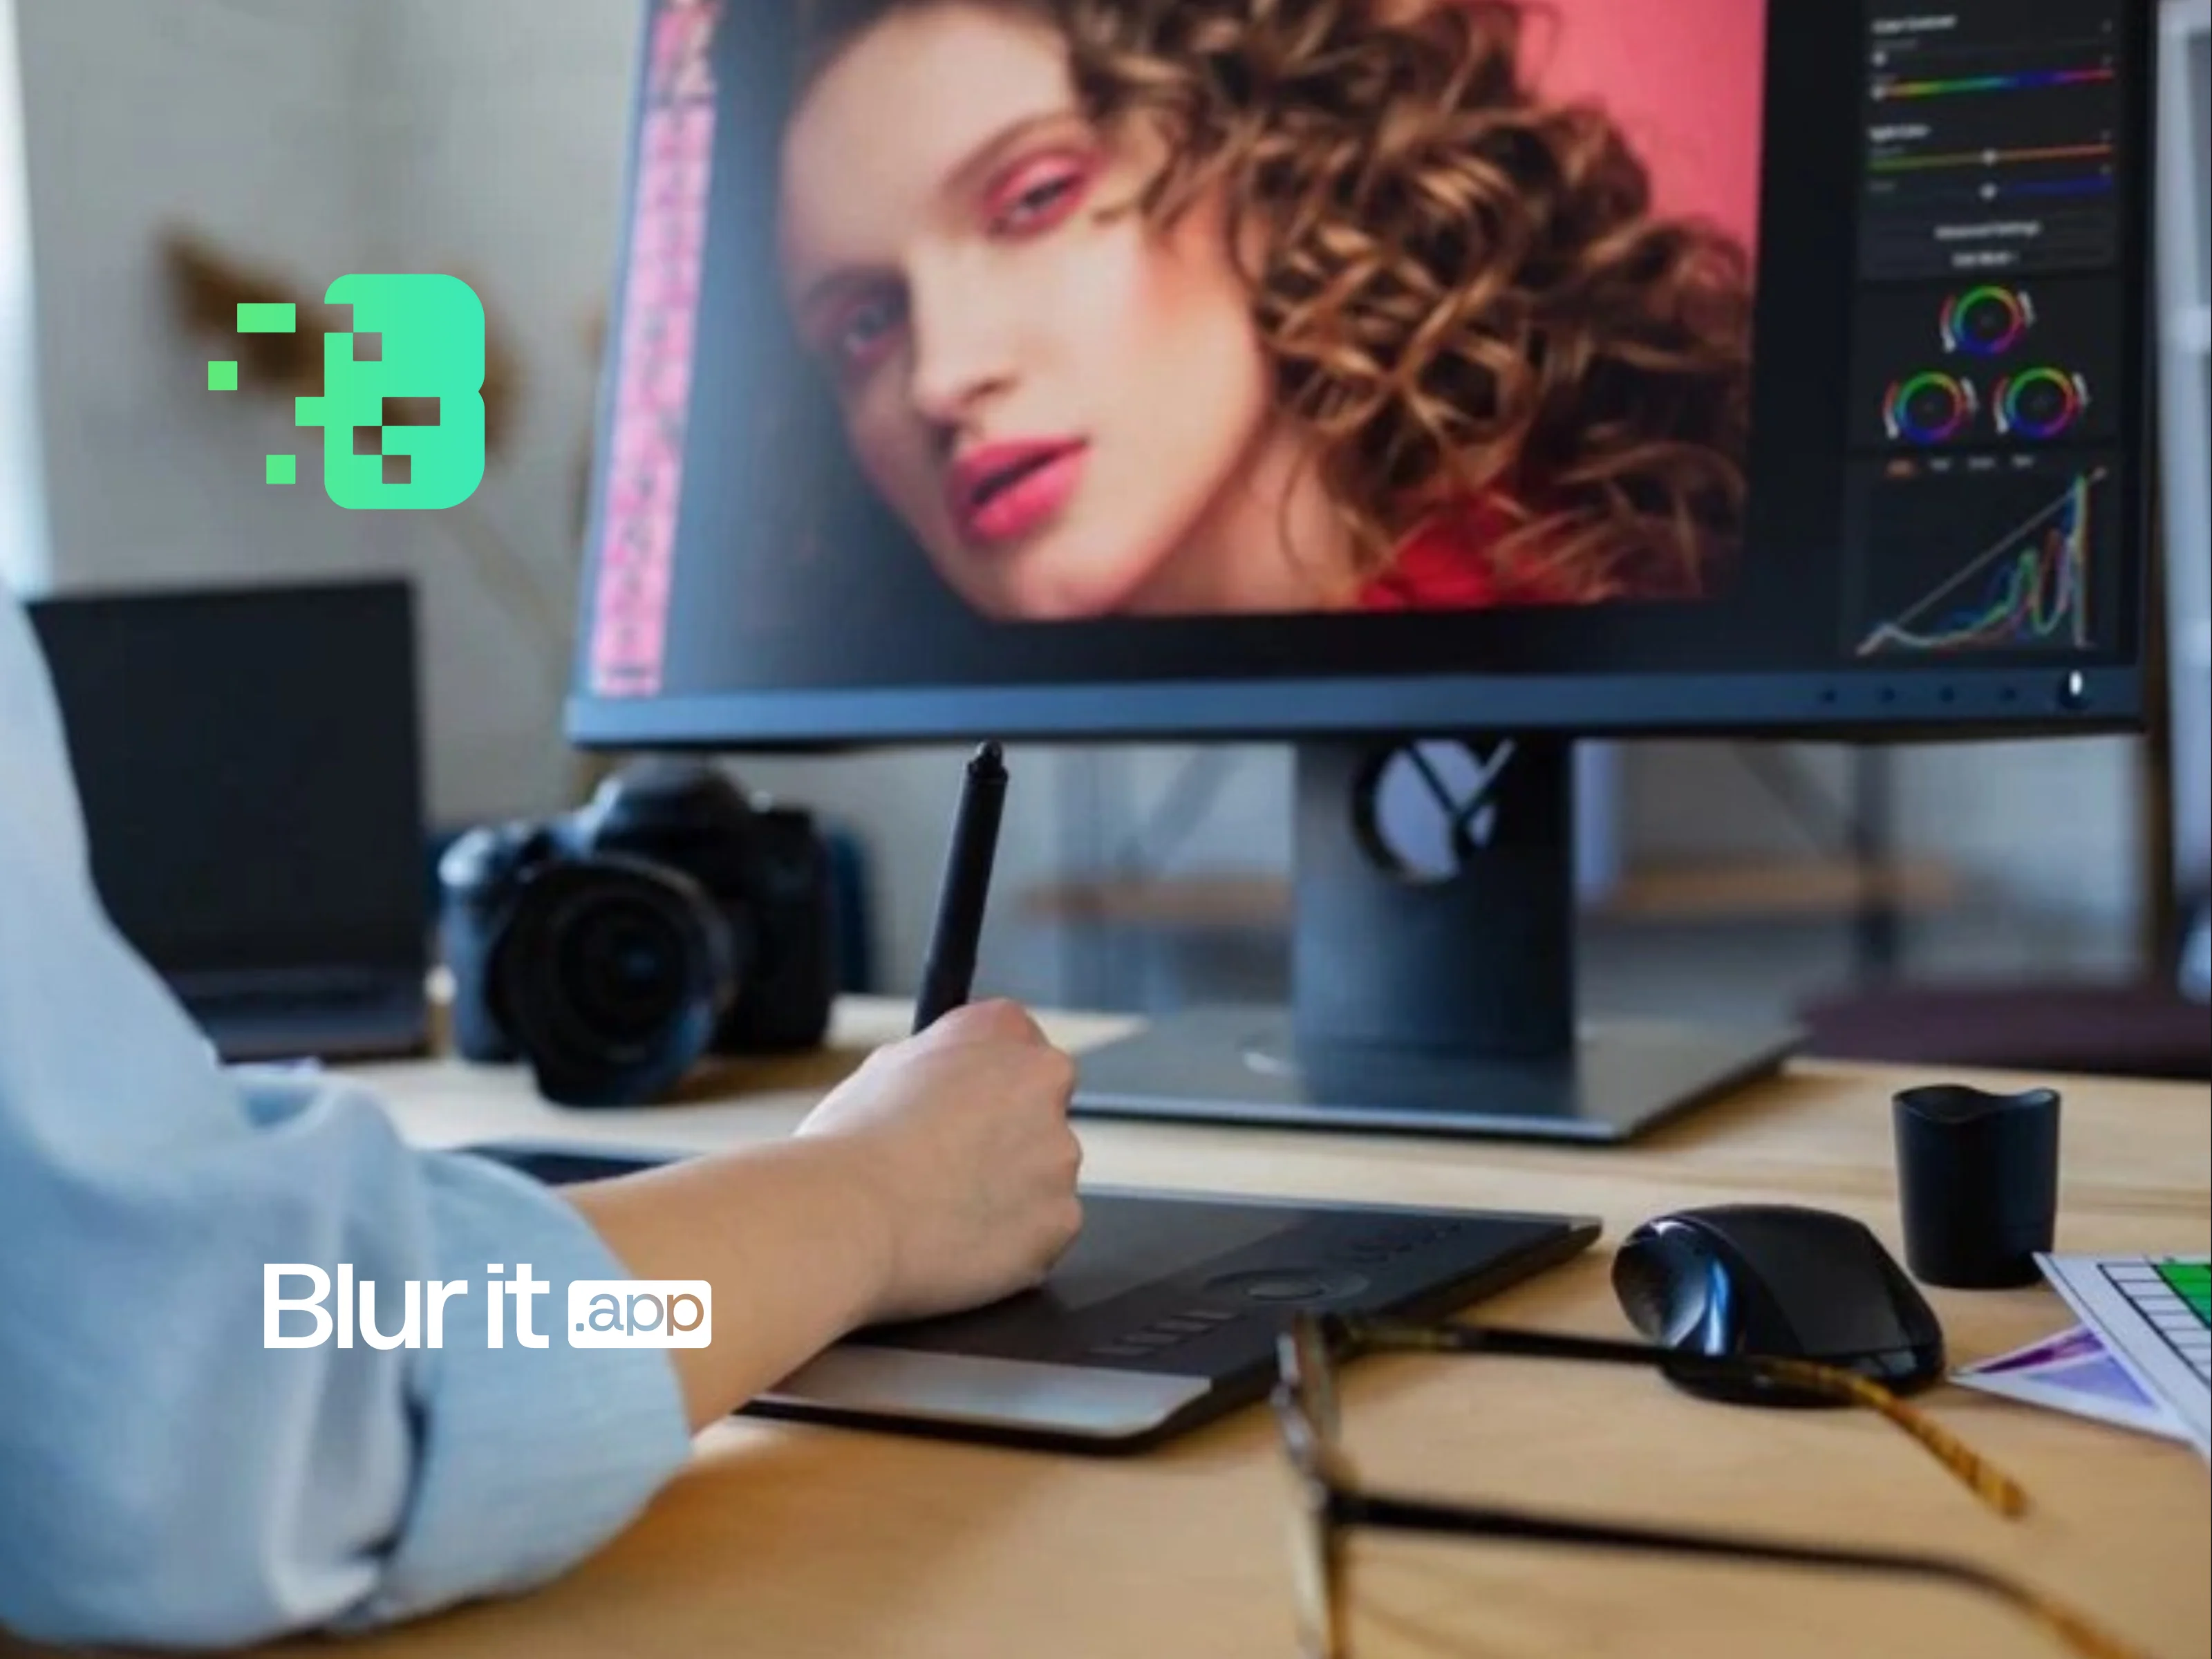
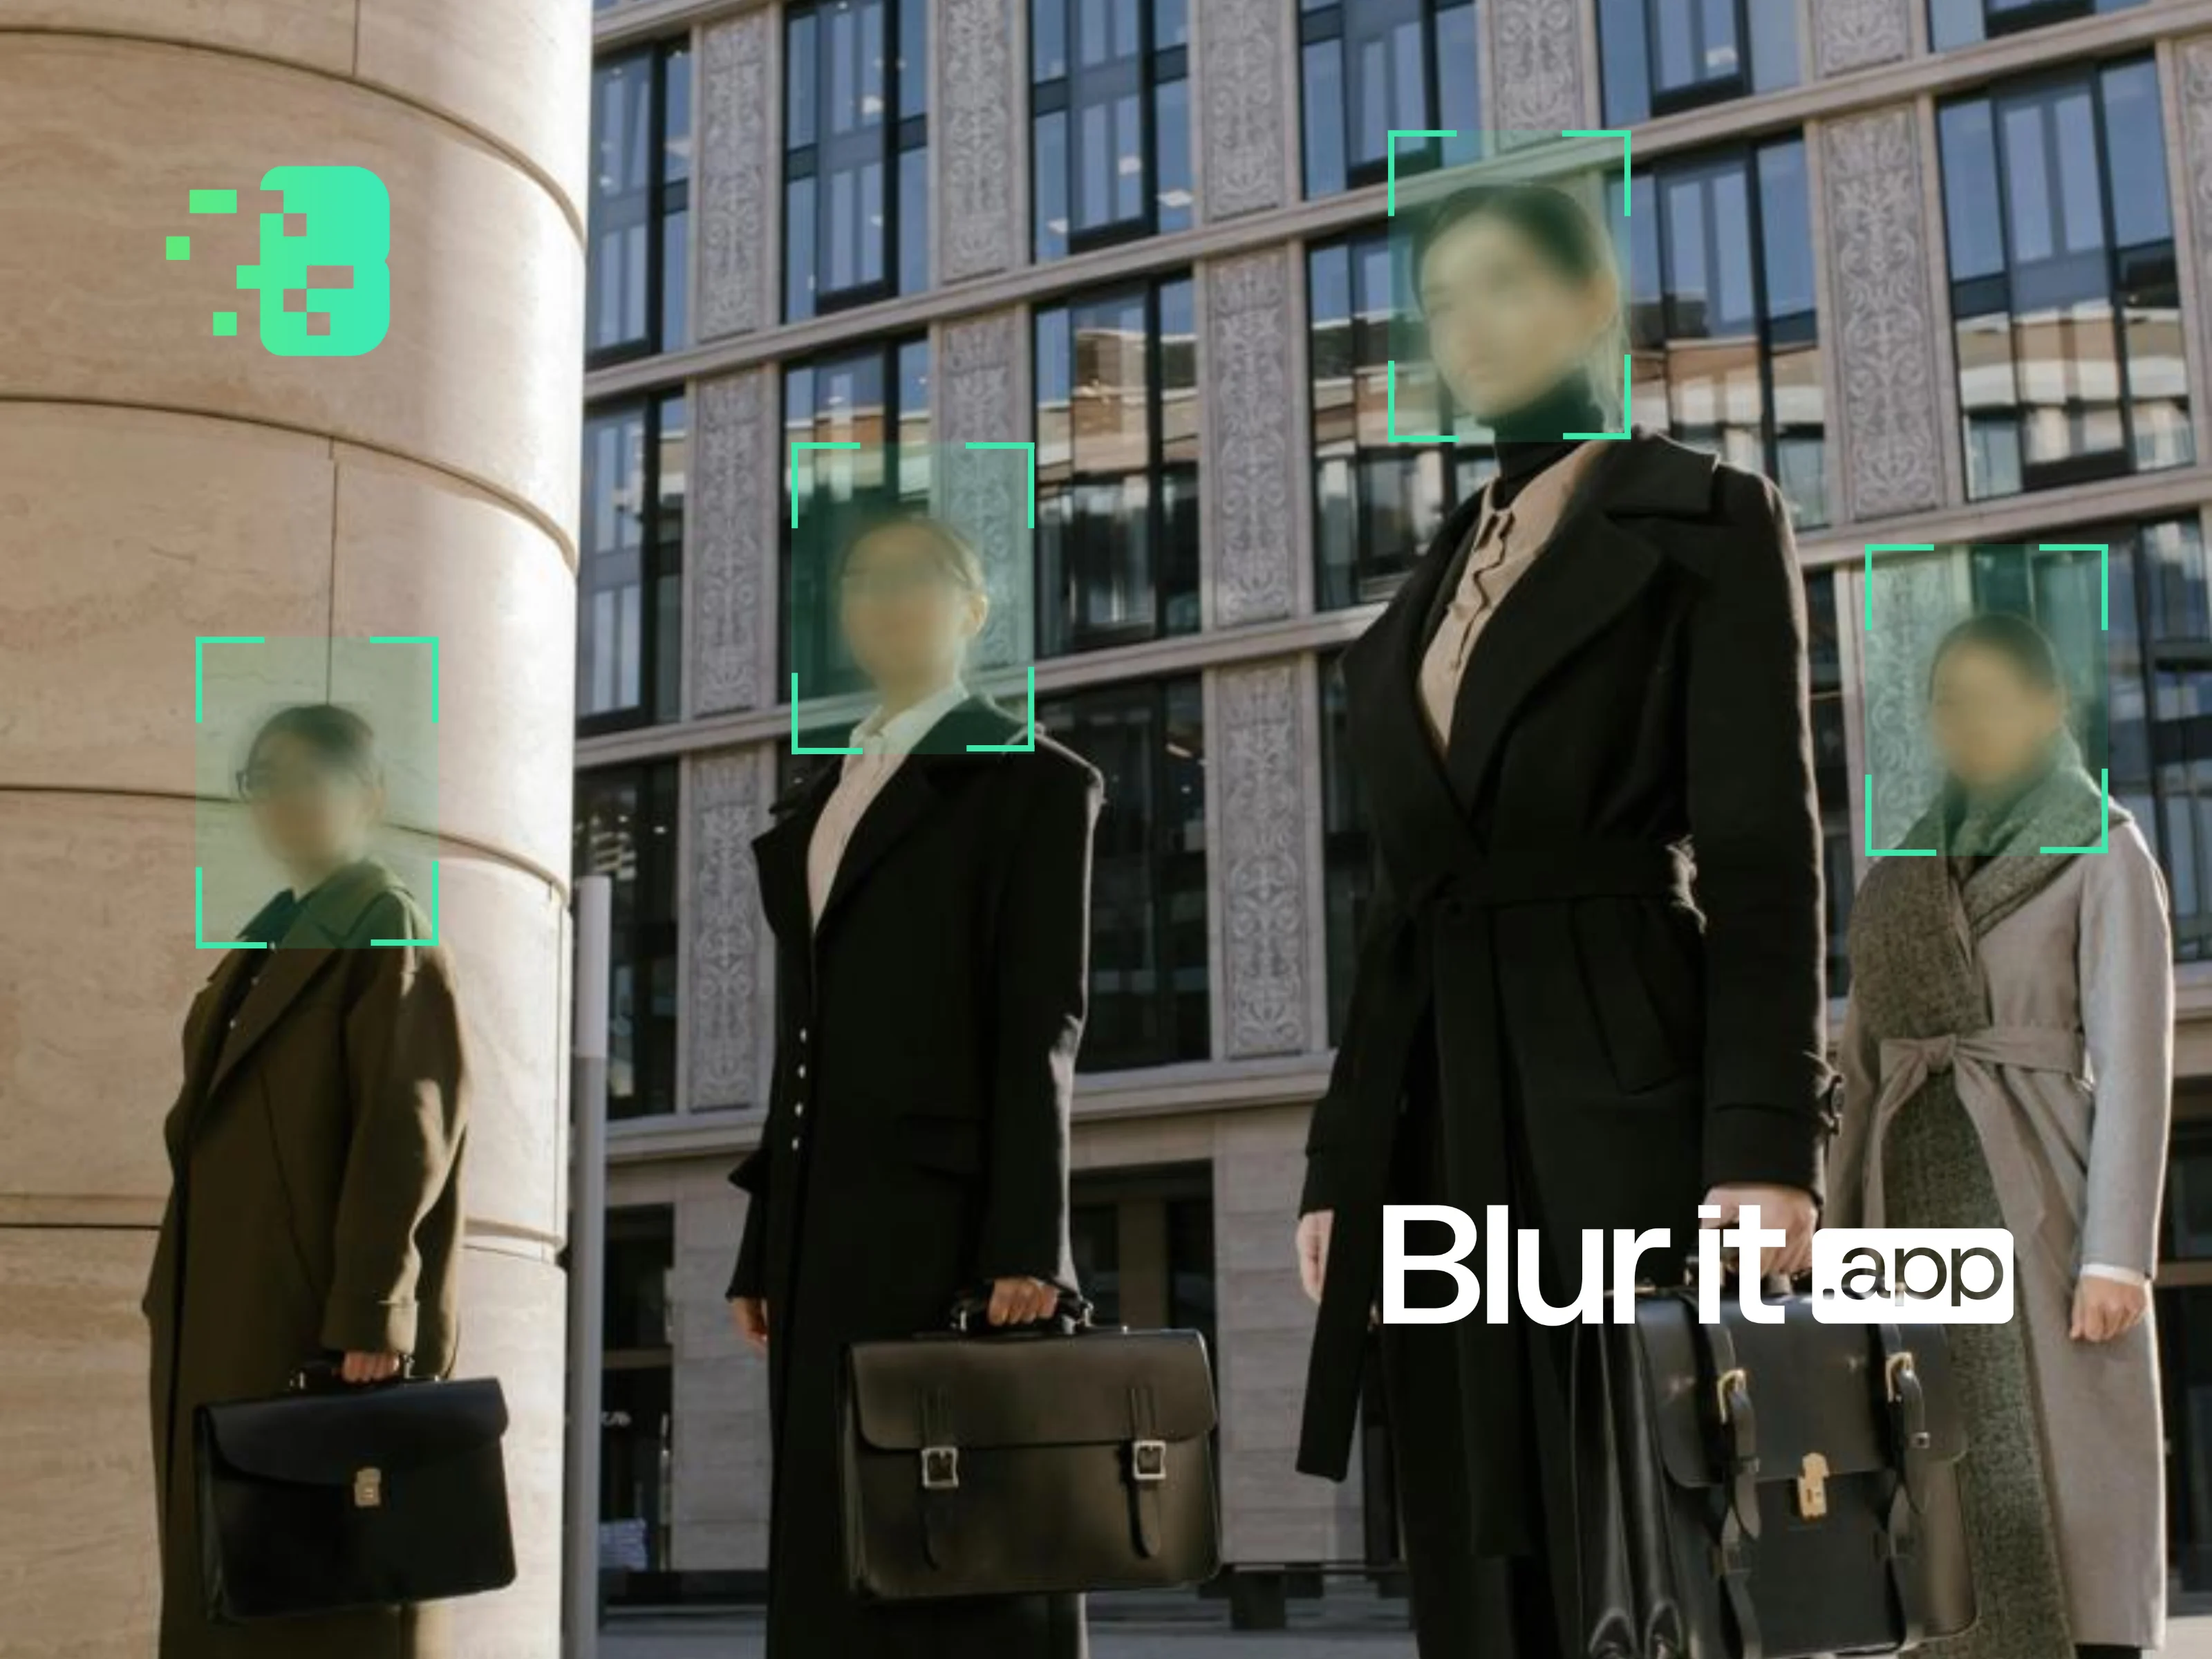
Method 1: Automatic AI face blurring (recommended)
This is the fastest and most reliable option. Tools like Blurit.app detect faces automatically, track them as they move, and apply blur in a few clicks.
Benefits:
- Automatic detection of all faces
- Tracking for moving people
- Fast processing (minutes, not hours)
- No editing skills required
Best for: creators filming outdoors with many bystanders.
Method 2: Manual blur in video editing software
You can blur faces in editors like Premiere Pro, Final Cut, or DaVinci Resolve by adding a blur effect and tracking the face manually.
Pros:
- Full control over the look
- Works if you already use an editor
Cons:
- Time-consuming (tracking frame-by-frame)
- Harder to master
- Easy to miss faces in crowds
Method 3: YouTube Studio built-in blur
YouTube offers a built-in blur tool inside YouTube Studio (after upload).
Pros:
- Free and built-in
- Basic automatic detection
Cons:
- Detection quality can vary
- Only works on YouTube
- It’s after upload—your original is already online
5 common mistakes to avoid
Mistake 1: Blur that’s too weak
A light blur can still allow identification. Fix: use stronger blur or heavy pixelation.
Mistake 2: Missing faces in the background
In busy scenes, it’s easy to miss faces behind your subject. Fix: use automatic face detection.
Mistake 3: No tracking for movement
If the person moves and the blur stays fixed, the face reappears. Fix: use an AI tool or proper tracking.
Mistake 4: Forgetting reflections
Faces can show up in mirrors, shop windows, or screens. Fix: scan the whole frame, including reflections.
Mistake 5: Blurring after publishing
Once a video is public, it can be downloaded or re-shared. Fix: blur before you publish.
Quick comparison
| Method | Time | Reliability | Cost |
|---|---|---|---|
| Automatic AI (Blurit.app) | 5–10 min | Excellent | Free trial / one-time credit packs |
| Manual editing | 1–3 hours | Varies | Included (if you already have the software) |
| YouTube Studio | 15–30 min | Average | Free |
Try Blurit.app on your videos
If you want to blur faces fast for your next YouTube or TikTok video, Blurit.app is designed for this: automatic detection, tracking, and clean export.
Try Blurit.app for free — 3 videos included, no credit card, results in minutes.
Note: This guide covers multiple approaches. Choose the one that fits your workflow and risk level.